Mechanisms and Things That Move


Ferriferous progress
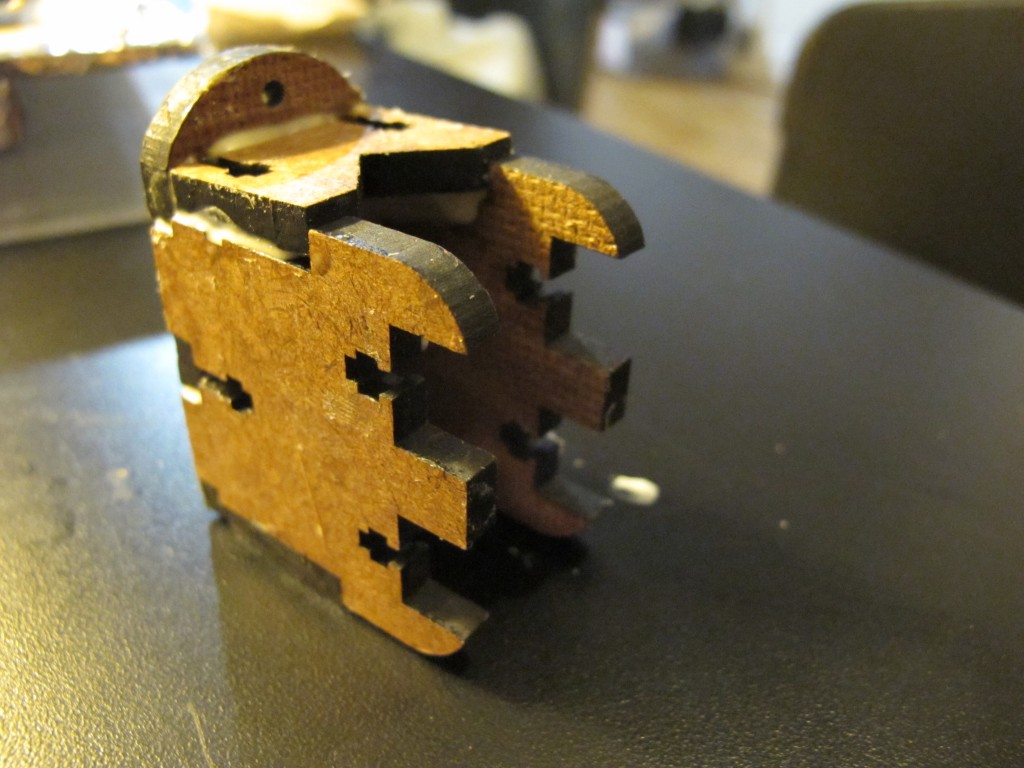
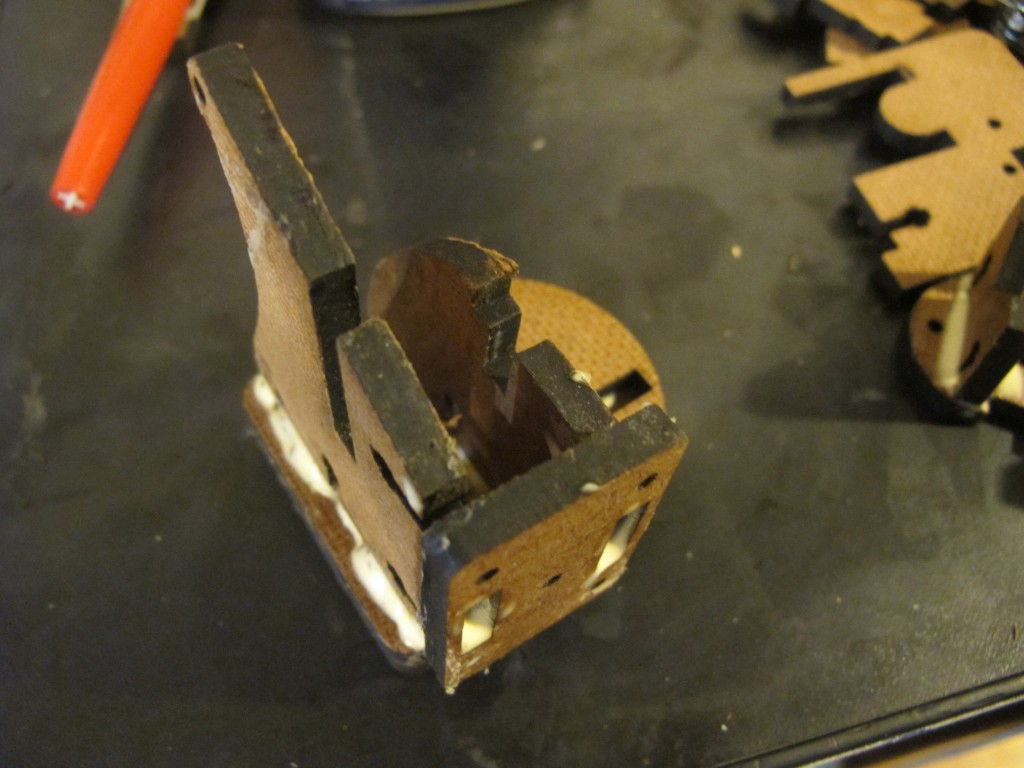
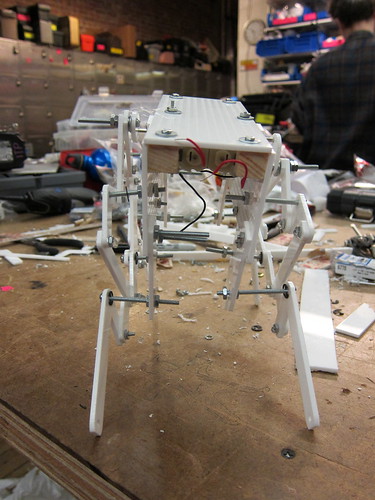
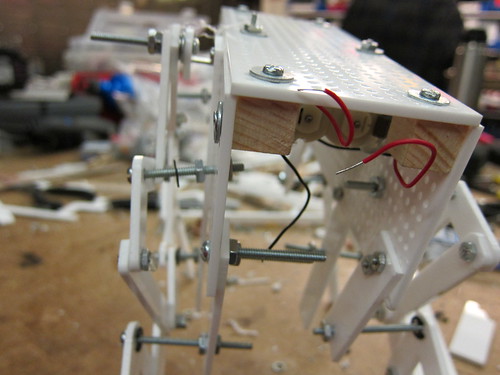
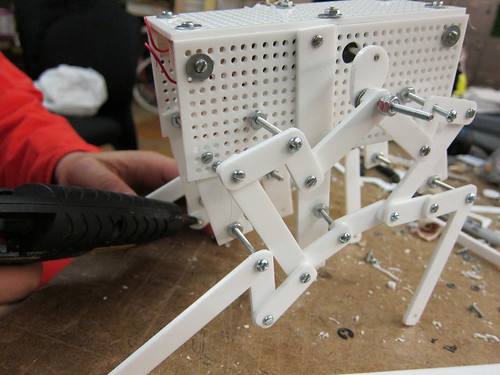
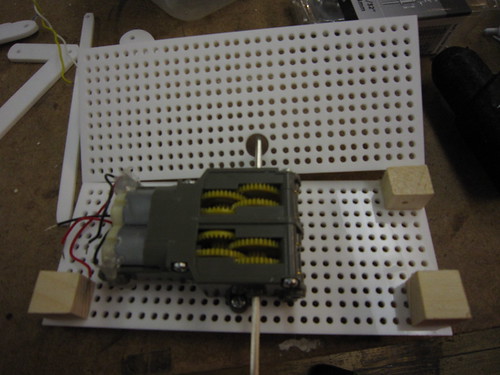
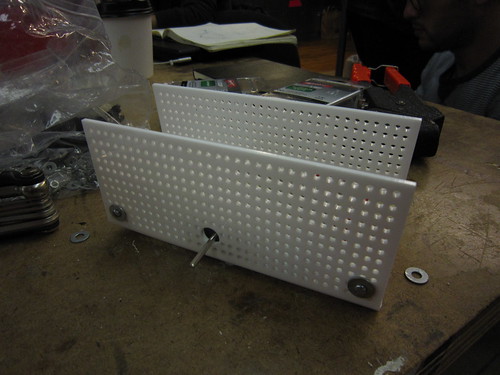
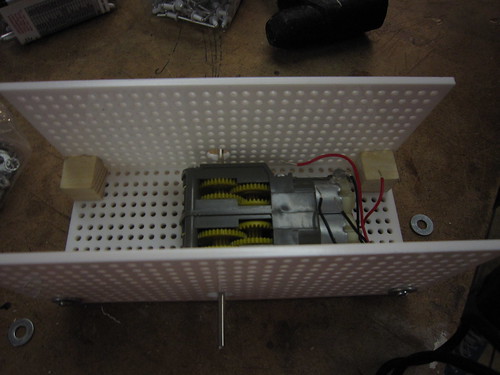
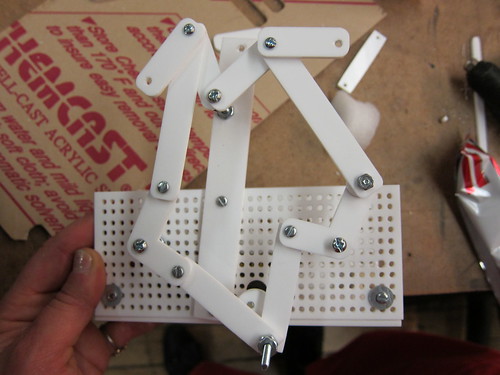
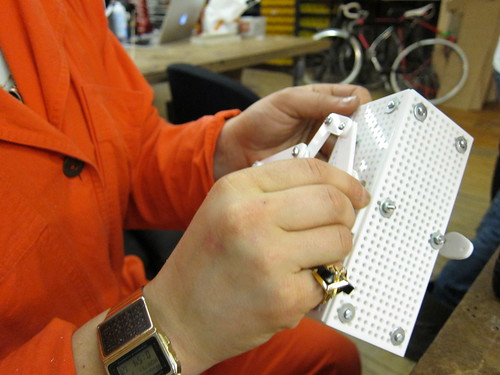
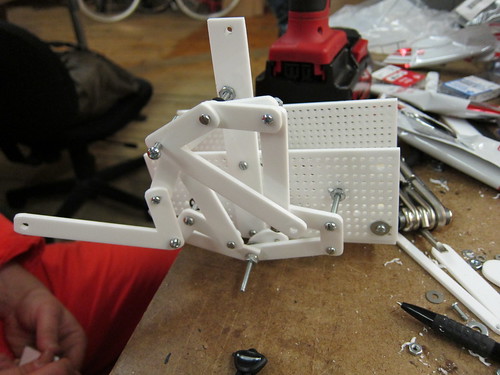
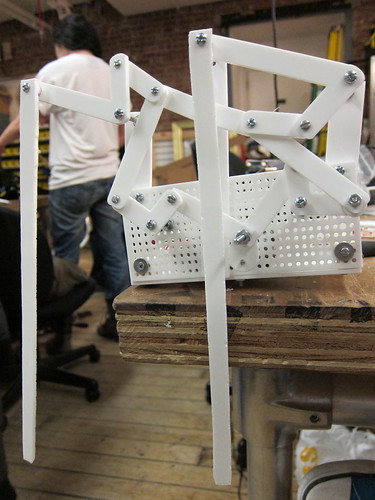
I made a prototype, based on MakerBot’s Unicorn PenPlotter, of a servo mechanism that will move vertically in linear motion:
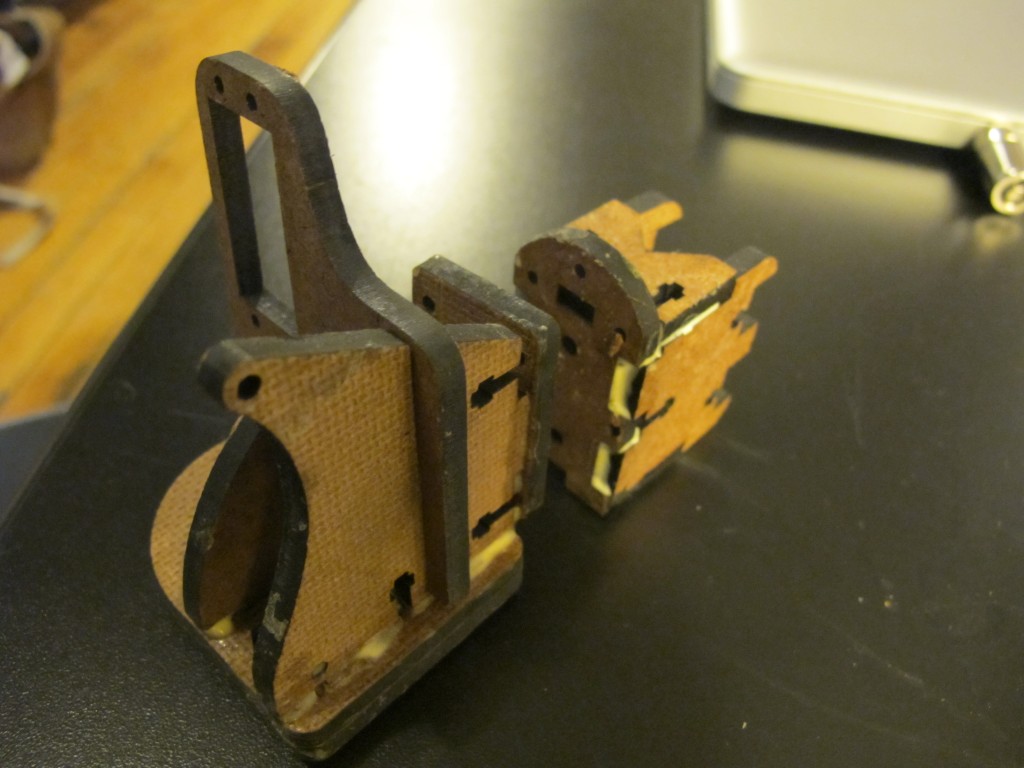
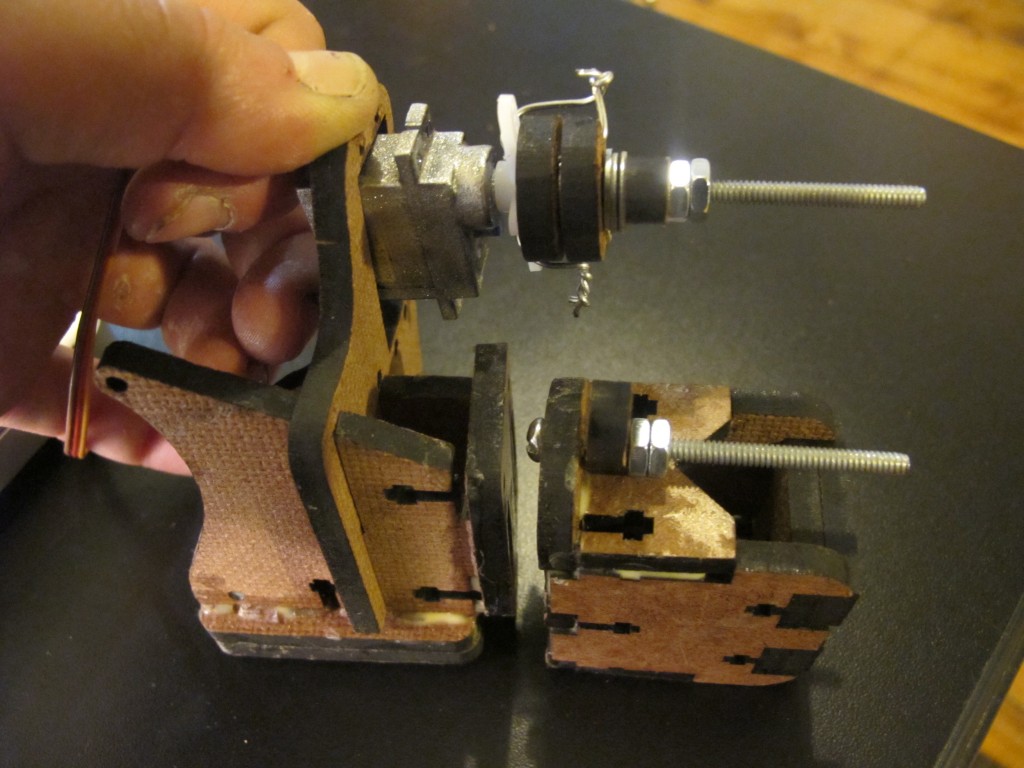
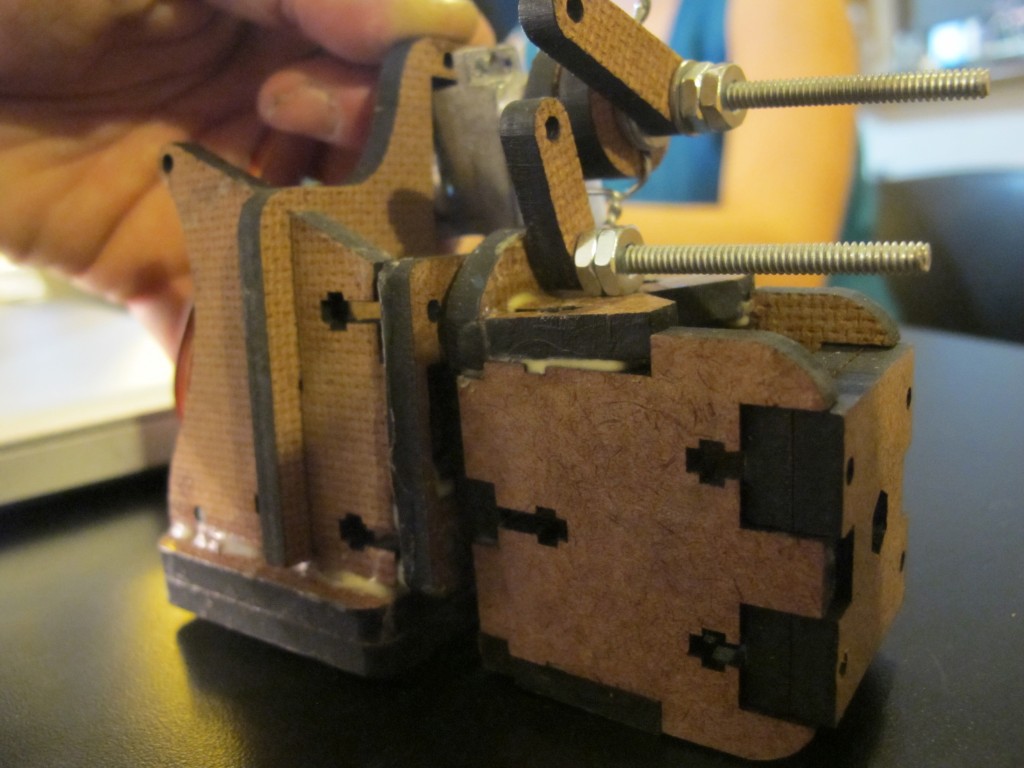
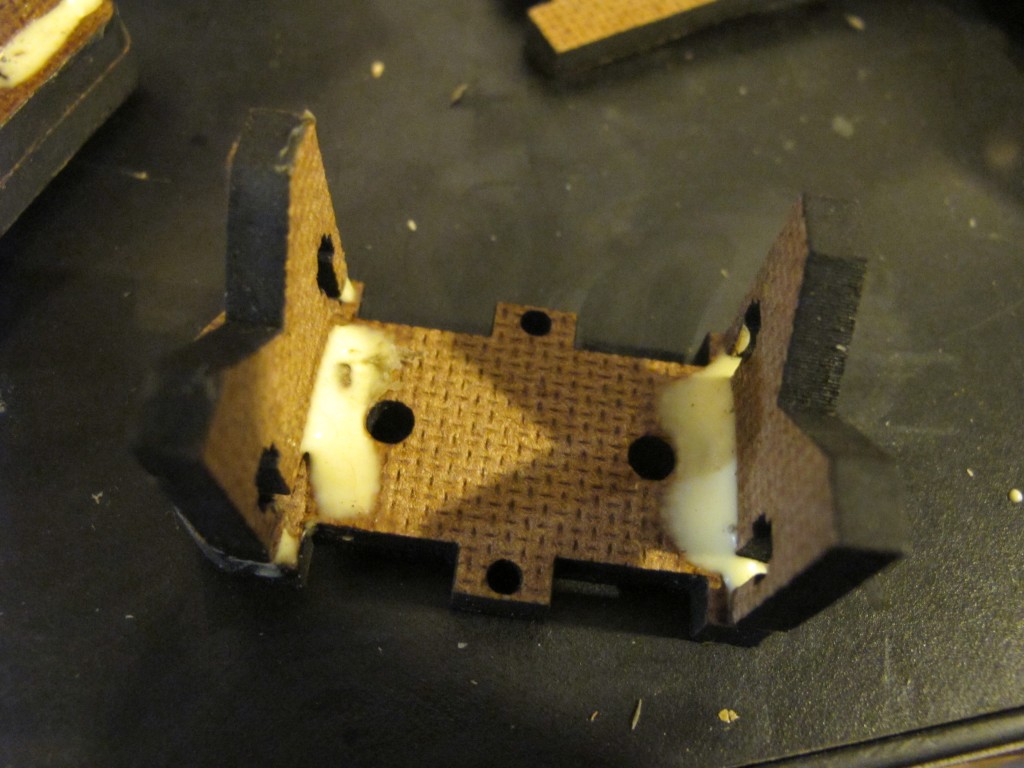
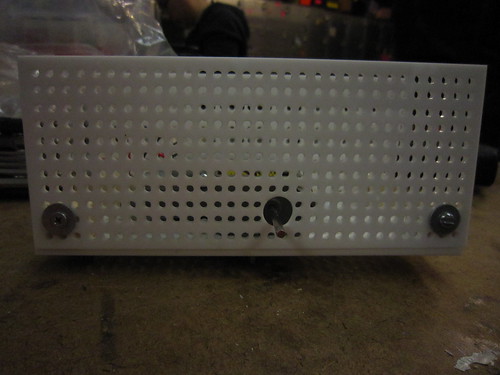
Then we modified it to look simpler :


The circuit:

At first we thought we could use the solar kit to charge a 12V solenoid, which would, through arduino, read our data of solar light levels over the past month, and pulse an electromagnetic field through ferrofluid, thereby mapping our data at a condensed temporal resolution. However, although the solar kit has a 12 V battery, we were not getting nearly enough response from the solenoid because, perhaps, the charge controller limits the current? (I need to think through this more)


We also tried using different beam circuits to store voltage in capacitors then to discharge, pulsing a solenoid. Similarly, we could not quite get enough current.
We had a bit of trouble reading through the data from our micro SD card – We switched to the adafruit sd Card shield, and I think we might have been choosing the wrong chip Select pin? we couldn’t figure out why the file DATA.TXT was not opening correctly. After a while, we switched back to the sparkfun shield or the card reader, and it worked fine.
This is the code we practiced with, but later we got the data on the SD card to read directly onto the arduino (see below)
#include <Servo.h>
int changer = 1;
 int incomingData;//variable to read incoming data
Servo myservo;  // create servo object to control a servo
                // a maximum of eight servo objects can be created
 int servoState;
 int prevState;
  const int transistorPin = 9;    // connected to the base of the transistor

int pos = 0;    // variable to store the servo position
int myData[] = {1,2,3,4,5,6,7,8,9,10,11,12,13, 13,13,13,13,13,13,13,13,13,13,12,11,10,9,8,7,6,5,4,3,2,1};// = new Array[12];//1,myData2;


void setup()
{
    Serial.begin(9600);
       pinMode(transistorPin, OUTPUT);
  myservo.attach(9);  // attaches the servo on pin 9 to the servo object
Serial.print("Servo Data Test!!");

 }

void loop()
{


       for(int i=0;i<29;i=i++){
         if(i>12 || i<=1){changer*=-1;}
       int intt=map((myData[i]*20),0,20*13, 180,70);
       int solenoid = map((myData[i]*20),0,20*13, 700,1023);
          analogWrite(5, solenoid);
        myservo.write(intt);
       delay(50);
       }
  }
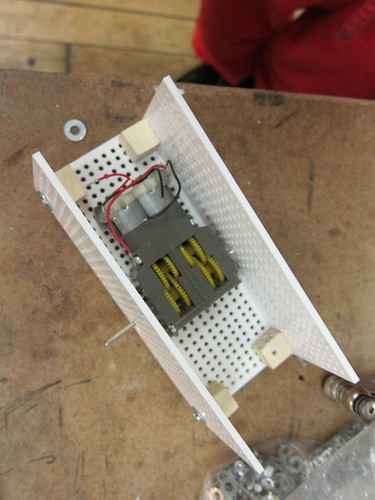
We are using the Sparkfun data logging shield
//CS pin : 8; VCC/GRNd; DO pin 12; DI pin 11
//using the sparkfun microsd data logger, (or the shield); writes millis and time in secs

#include <SdFat.h>
#include <SdFatUtil.h>
#include <ctype.h>

//Create the variables to be used by SdFat Library

Sd2Card card;
SdVolume volume;
SdFile root;
SdFile file;
 const int transistorPin = 5;    // connected to the base of the transistor
  int potValue1 = 0;               // value returned from the potentiometer
#include <Servo.h>
char name[] = "DATA.TXT";     //Create an array that contains the name of our file.

char contents[256];           //This will be a data buffer for writing contents to the file.
char in_char=0;
String line;
int index=0;                  //Index will keep track of our position within the contents buffer.
Servo myservo;  // create servo object to control a servo
void setup(void)

{
    Serial.begin(9600);        //Start a serial connection.
       pinMode(transistorPin, OUTPUT);
    pinMode(8, OUTPUT);       //Pin 10 must be set as an output for the SD communication to work.
    card.init();               //Initialize the SD card and configure the I/O pins.
  myservo.attach(9);  // attaches the servo on pin 9 to the servo object
    volume.init(card);         //Initialize a volume on the SD card.
    root.openRoot(volume);     //Open the root directory in the volume.
}
void loop(void){
   // file.open(root, name, O_CREAT | O_APPEND | O_WRITE);    //Open or create the file 'name' in 'root' for writing to the end of the file.

    //sprintf(contents, "Millis: %d    ", millis());    //Copy the letters 'Millis: ' followed by the integer value of the millis() function into the 'contents' array.
    //file.print(contents);    //Write the 'contents' array to the end of the file.

 // file.close();            //Close the file.

 file.open(root, name, O_READ);    //Open the file in read mode.
    in_char=file.read();              //Get the first byte in the file.
    //Keep reading characters from the file until we get an error or reach the end of the file. (This will output the entire contents of the file).

    while(in_char >=0){            //If the value of the character is less than 0 we've reached the end of the file.
        Serial.print(in_char);    //Print the current character
        //line = file.read();//read each line?
       // Serial.println(line);

       in_char=file.read();      //Get the next character


        float newFloat = map(in_char, 0,9,0,180);

        myservo.write(in_char);
        float solin_char= map(in_char, 0,9,500,1023);
        analogWrite(5, solin_char);
        delay(300);


    }
    file.close();    //Close the file
    //delay(1000);     //Wait 1 second before repeating the process.
}
Some more videos of progres and the mechanism:
more with Ferrofluid and Solar Energy

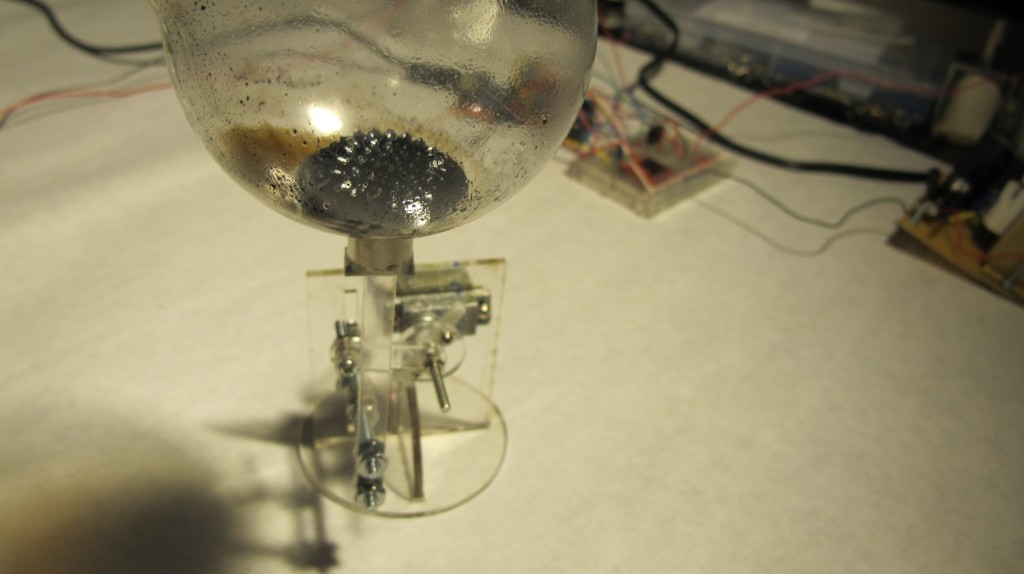
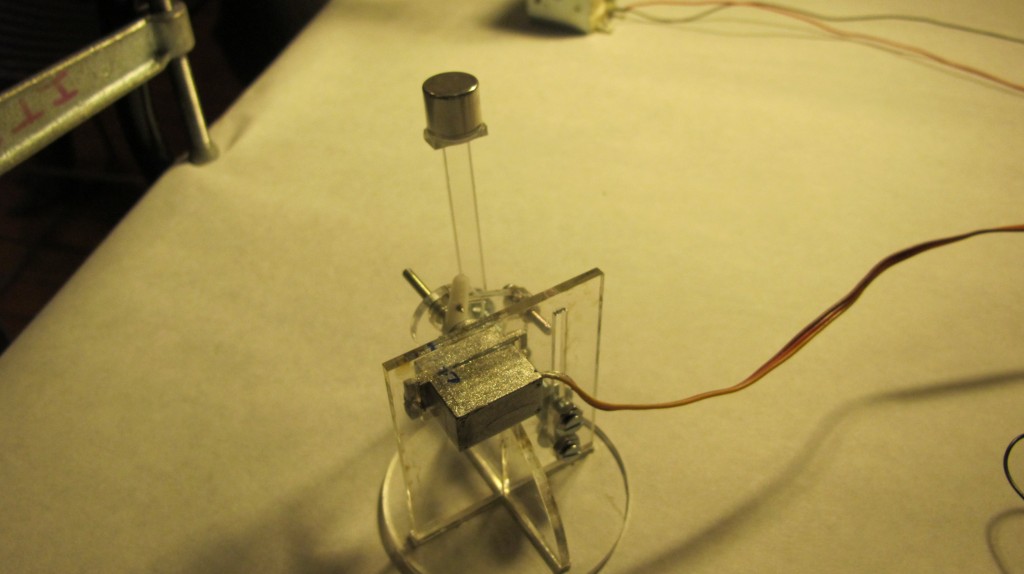
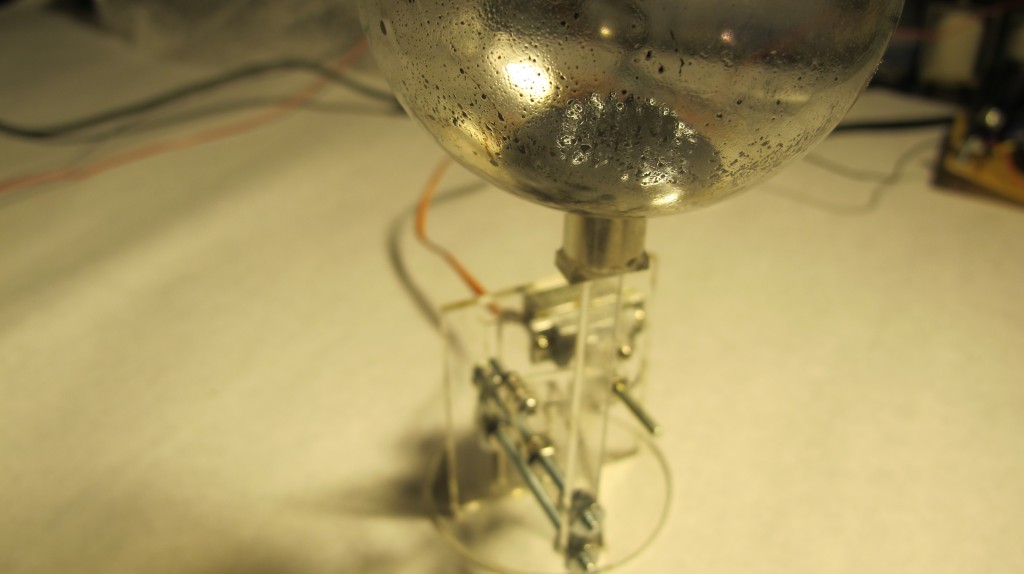
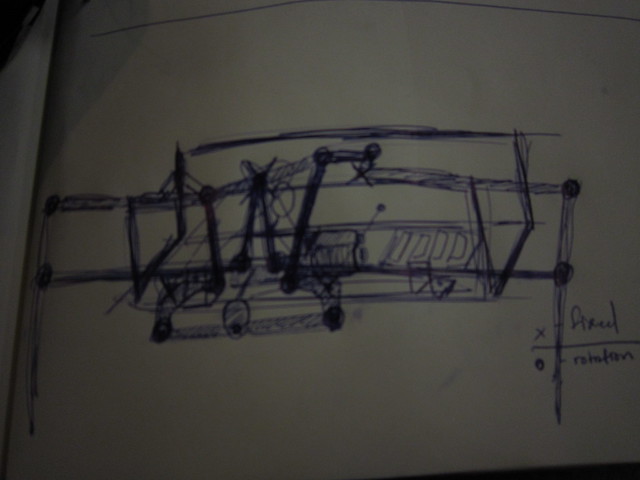
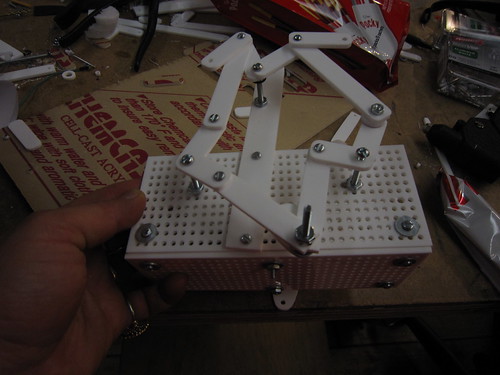
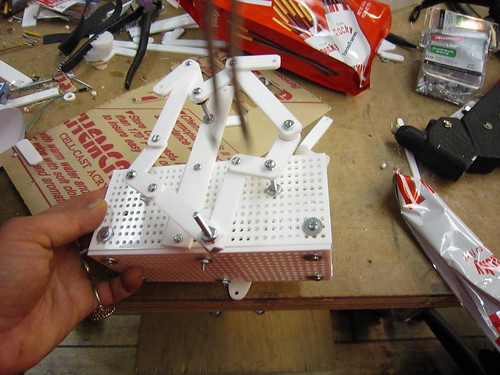
Using the MakerBot Unicorn PenPlotter as a guideline for a mechanism that uses a servo to laterally back and forth along a single axis, I made a mechanism that oscillates the proximity of a rare earth magnet back and forth in the proximity of ferrofluid. We are iterating through our collected data, to visualize and graph energy and weather data we are collecting over the month, in the planar layer of ferrofluid.
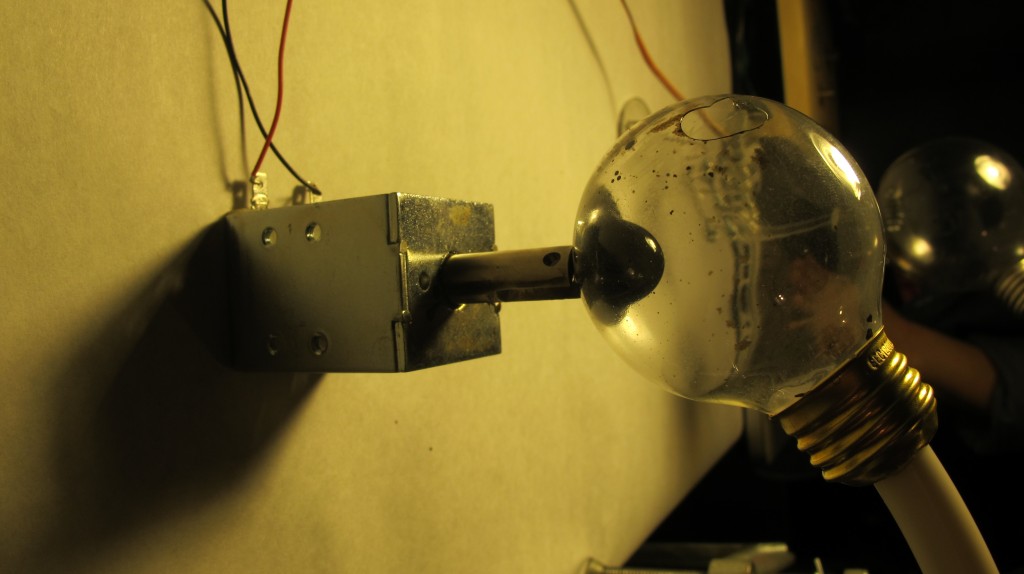
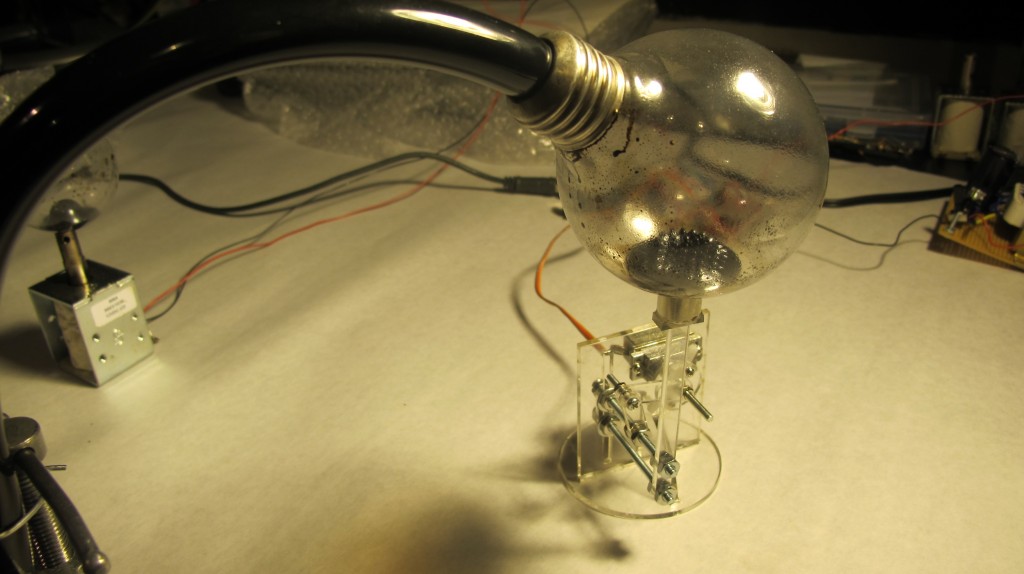
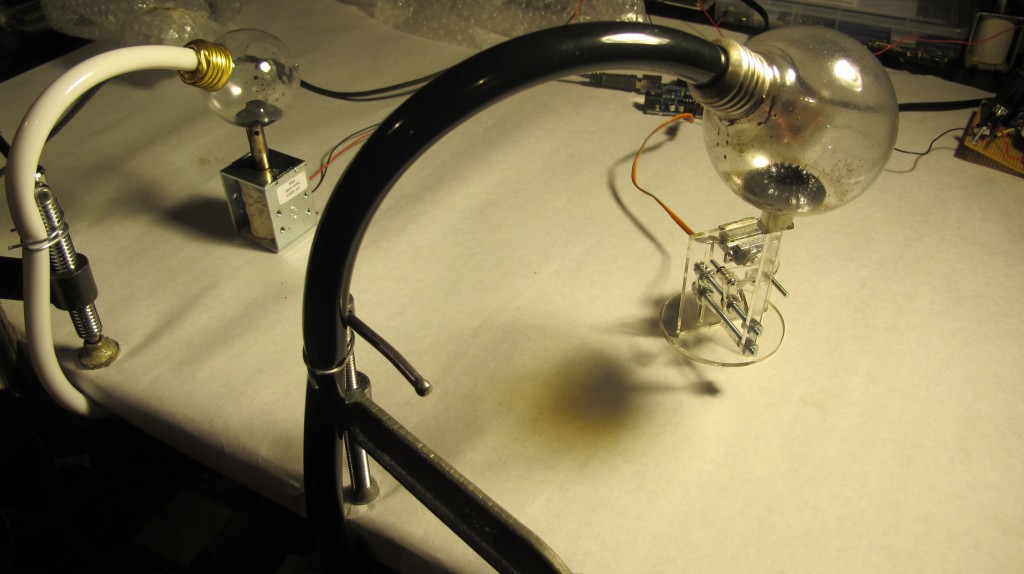
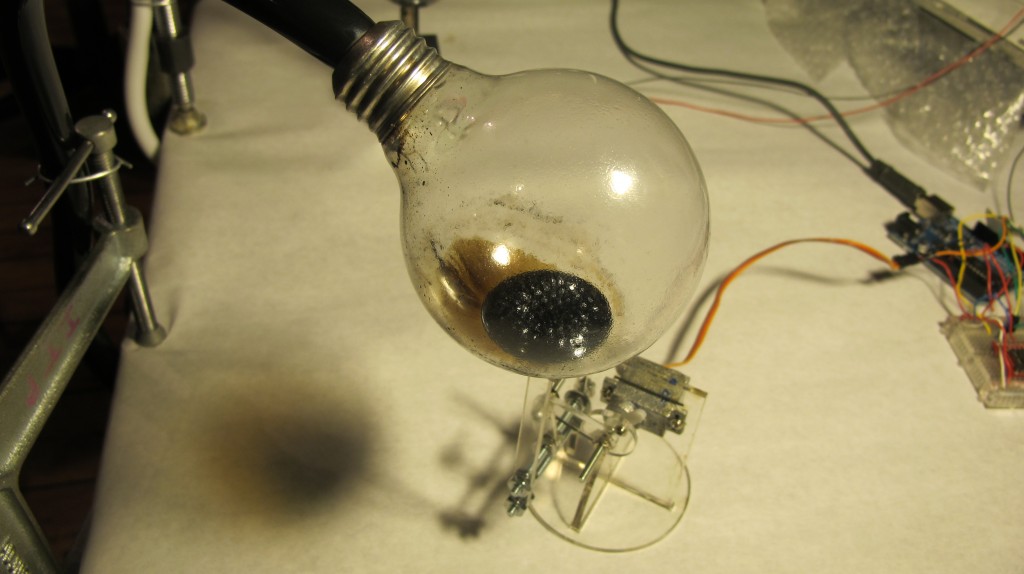
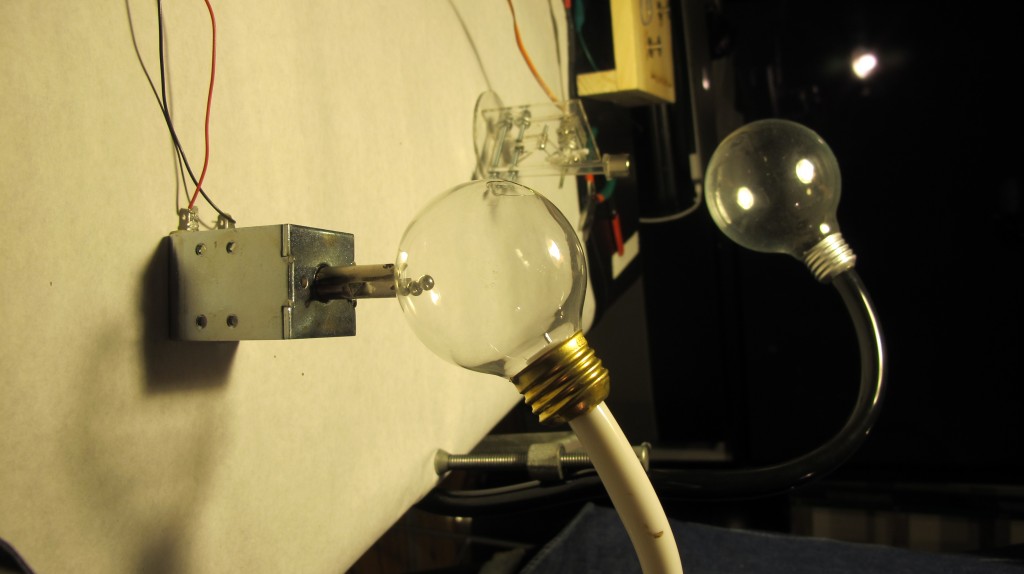
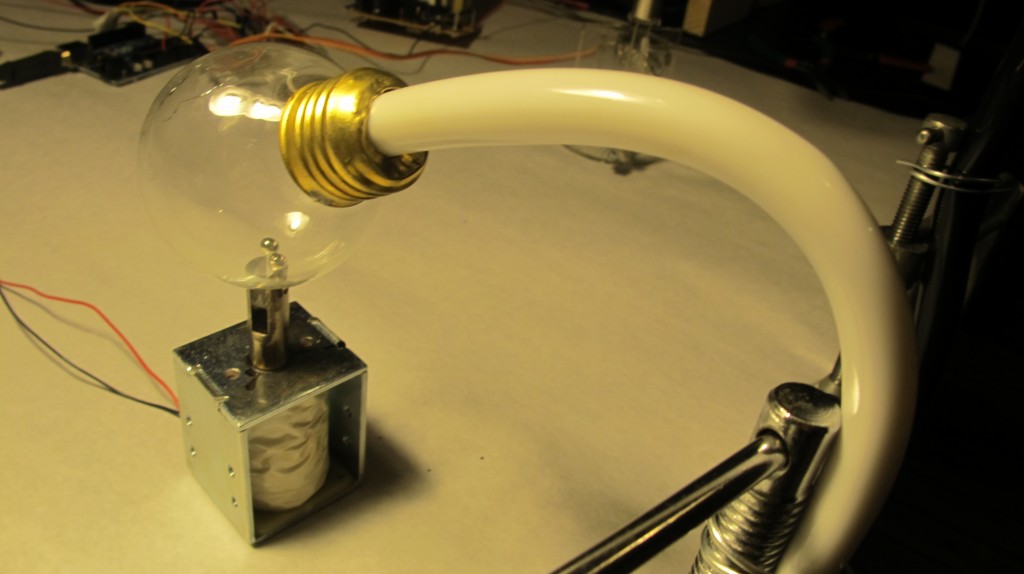
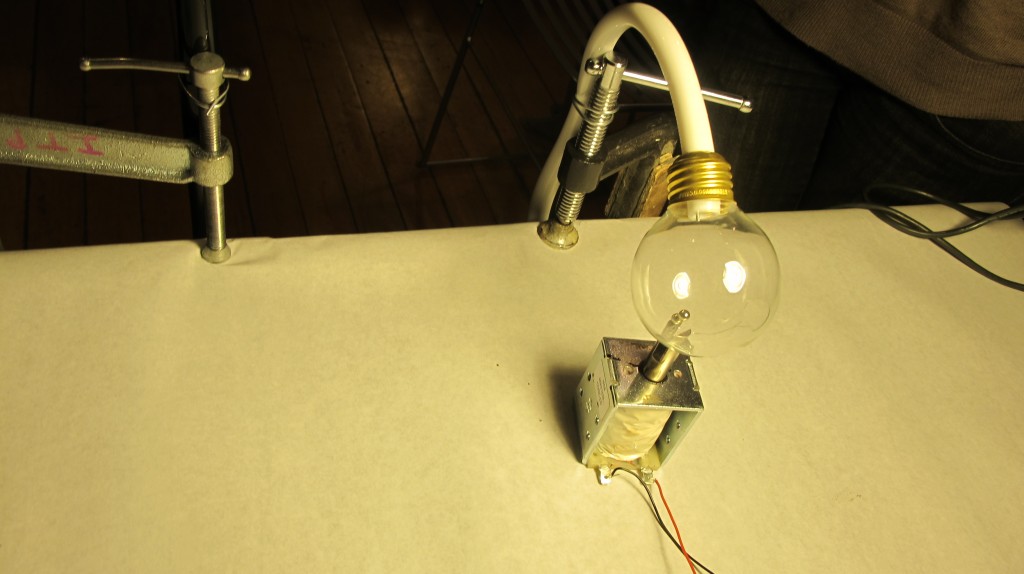
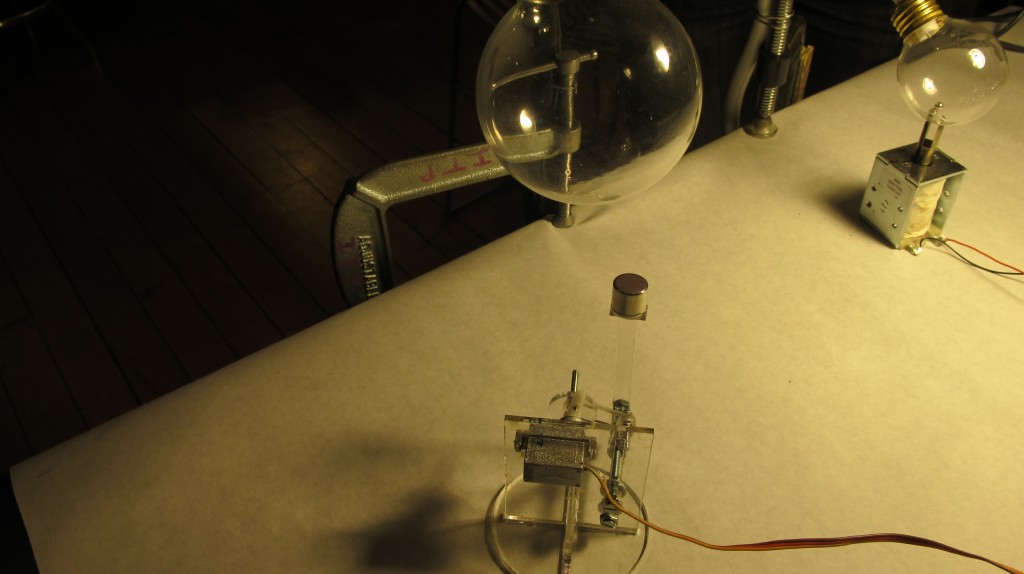
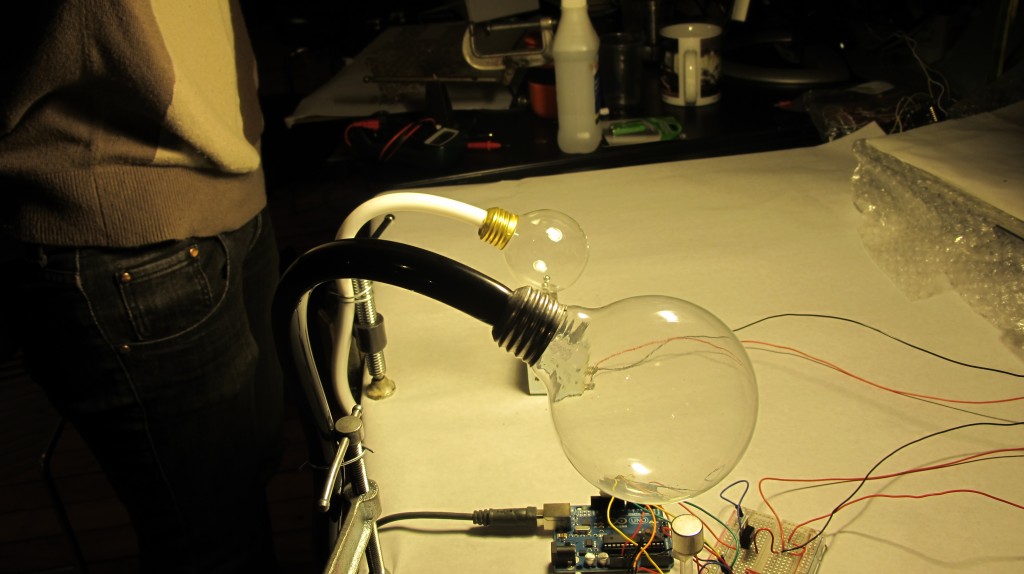
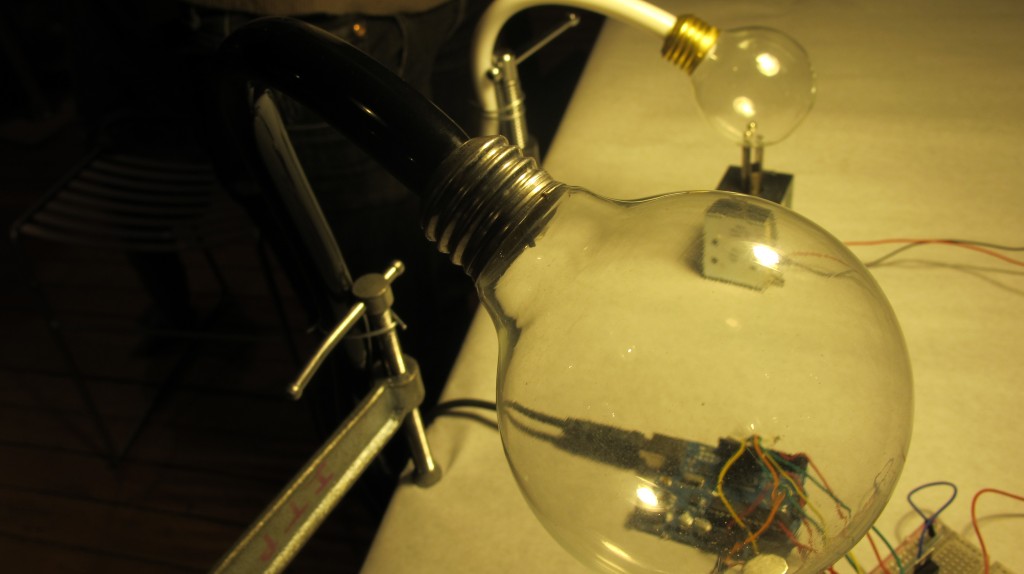
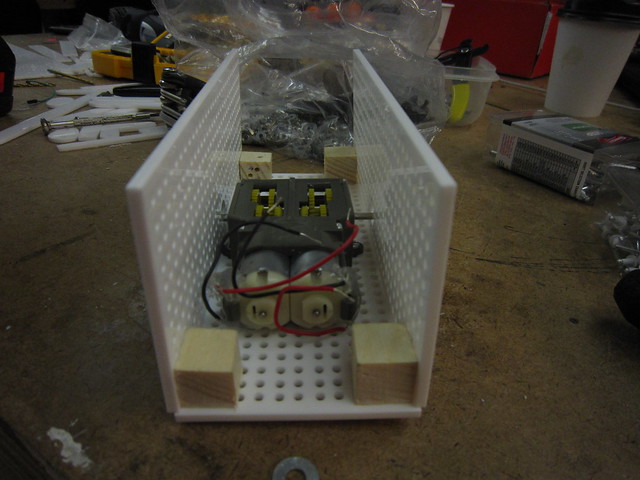
We hollowed out lightbulbs in order to cheaply make small terrariums for units that contain ferrofluid and a couple magnets, that will be perched atop solenoids and magnets.

I used a linear slide from a chain lock to keep the arm holding the magnet in place. The pieces are drying over night


The data logging is going well – although every now and then when I check the card, it didn’t read the data (I think I have to unplug the arduino each time. Oh, and in case I forget, it took me two days to realize that with the data logger and RTC to work, I need at least 8V from a wall wort (from the 5V one we were getting 0/0/0 for the date / time. (Also, I switched the code so we it is always writing to data.txt as opposed to a new file each time, so it will be much easier to graph (instead of copying and pasting from different text files, we can just use data.txt in processing).
We also thought that because the solenoid was working with 12V from the bench power supply, we would be able to use the 12V battery powered off the solar kit / charge controller at school – However, when we plugged in the solenoid to the 12 V battery…. turned out, it hardly worked. And the voltage reading was about 0.7… RIGHT….
ferrofluidic motor syringe
continuing with the ferrofluid idea:
so my servos are strong enough to push syringes with liquid:
I got inspired by a radial engine:
and was going to start off by building a piston:
But I have a bunch of servos, so I decided to model some sort of an improvised two-cylinder piston that takes in fluid and spits it back out, that is modelled after MakerBot’s Unicorn Pen plotter – An elbow pushes back and forth laterally

I think that I am going to do some 3d moving model using ferrofluid, perhaps using the data that Genevieve and I are collecting about solar / temperature data
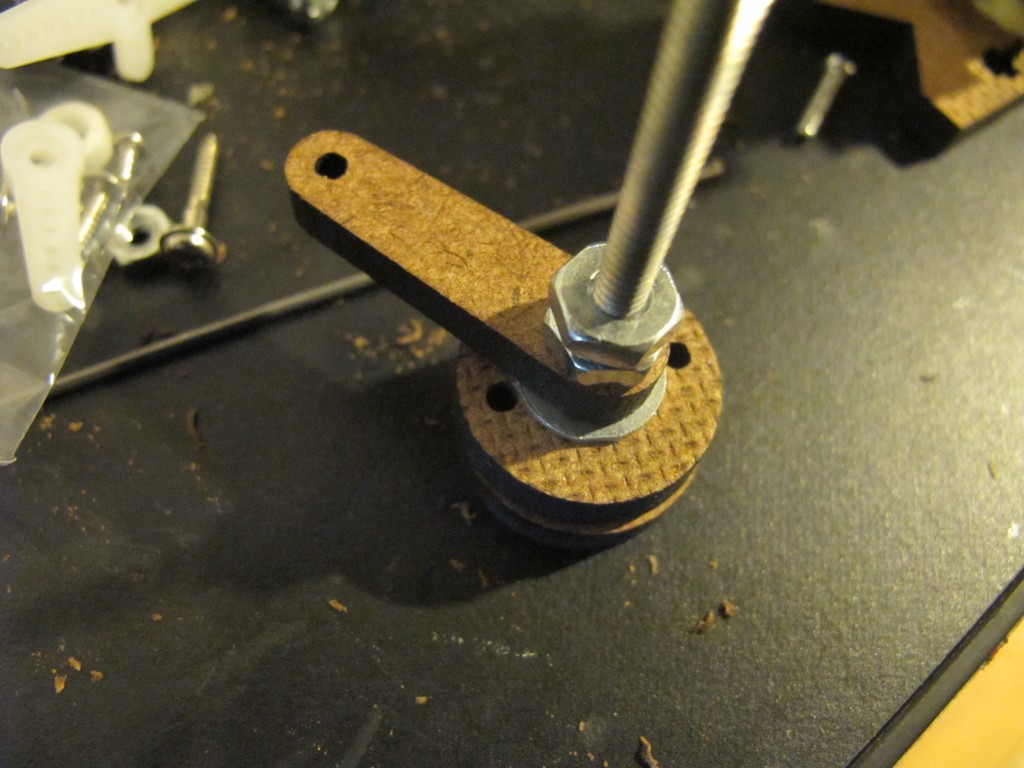
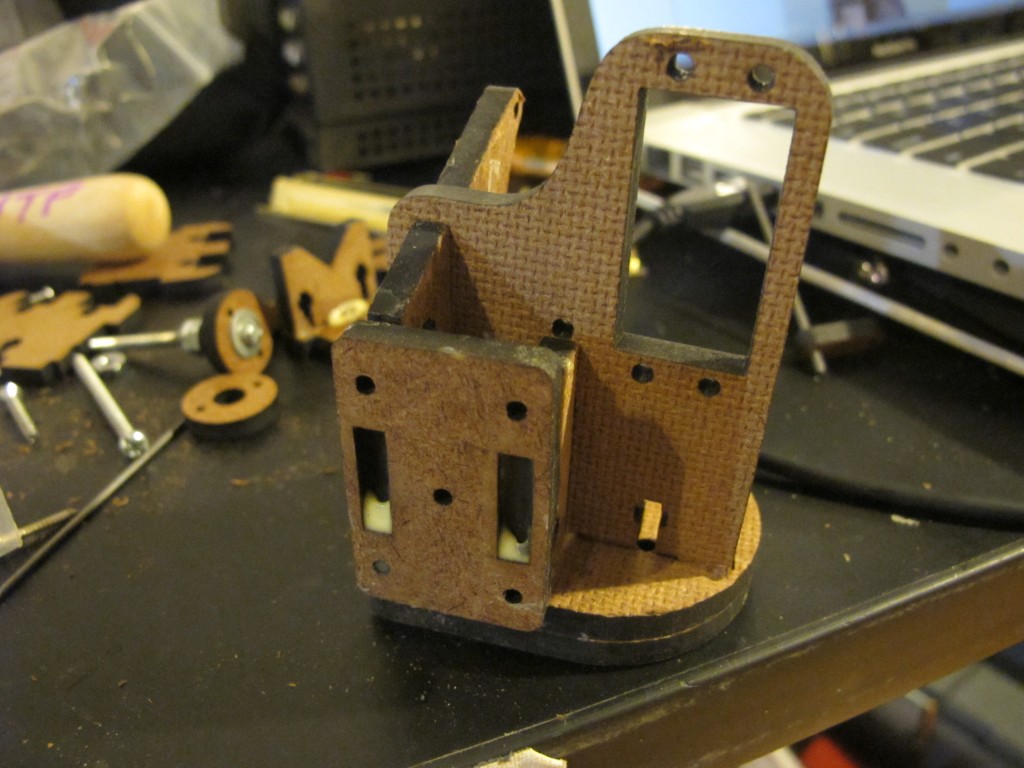
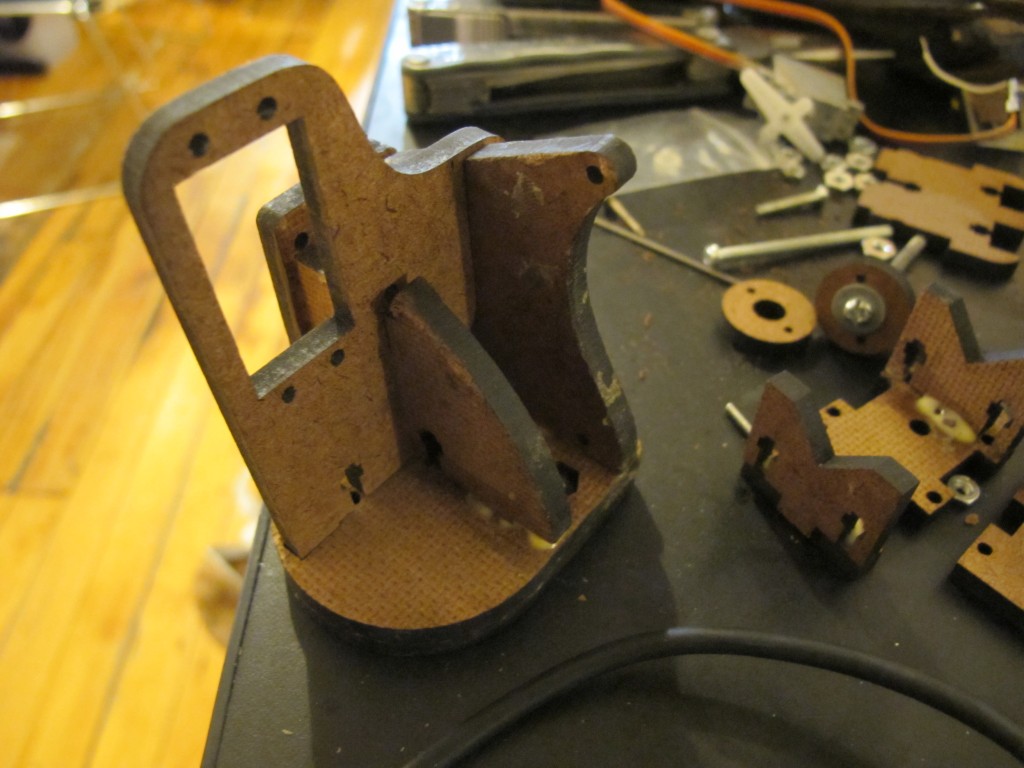
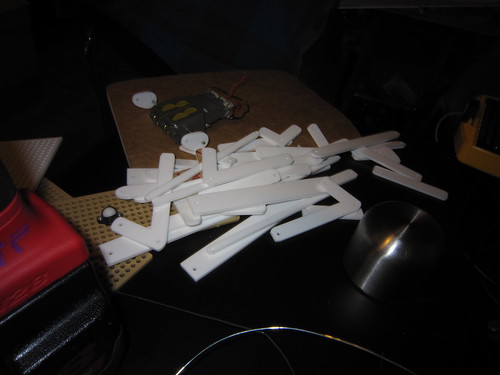
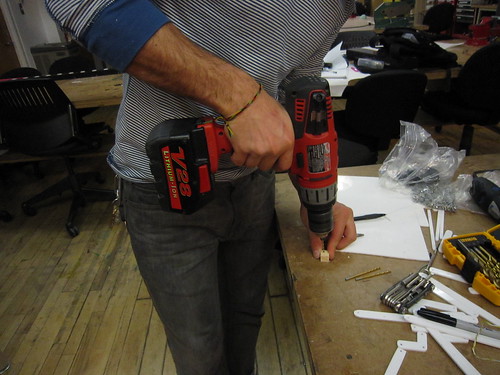
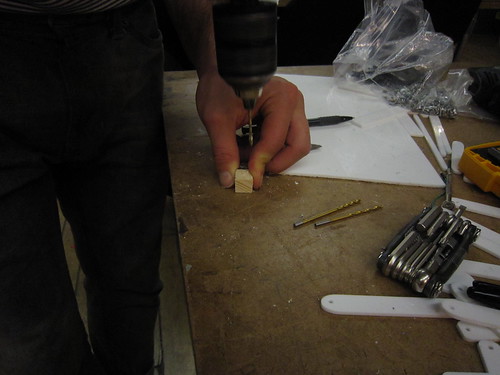
So, using the makerBot wiki, I got a pattern to cut the pieces for the mechanism: I cut it in both masonite and clear plexi (I assume the plexiglass is stronger but I preferred the transparent aesthetic, so I’ll try it!)….

now, to get some nuts and bolts…
logging the data
14.38, 2.52
with the solar panels in, we’re 17, 3
click to see more info
-

- April 10

-

- April 13

logging solar data
Genevieve and I now decided to log data from the sun over the course of the month – most likely, voltage, and light level. We will use both a photocell and two large solar panels (during the day one gave about 20 V). (And of course, we will power the arduino sustainably!)
We are using a RTC (real time clock from adafruit), a micro sd card data shield, and the following code (derived from Tom Igoe’s github)
Here is the circuit:

With a 9 V battery plugged in for a few minutes, this is the result (reading voltage once per minute):


Ferrofluid, and more…

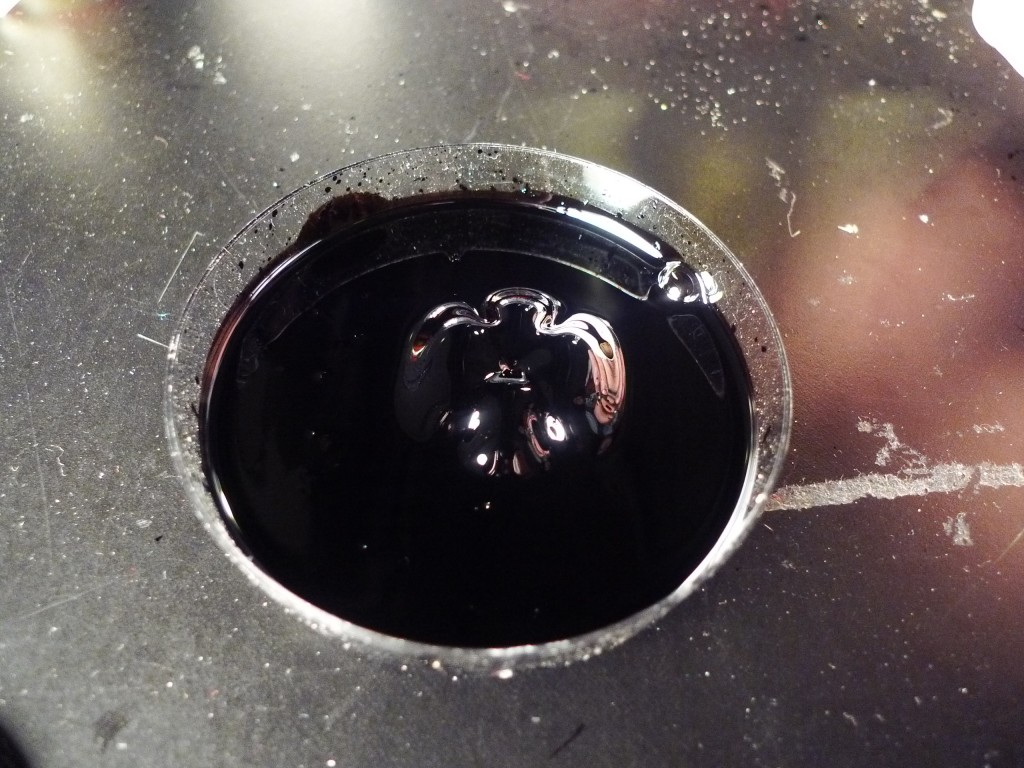
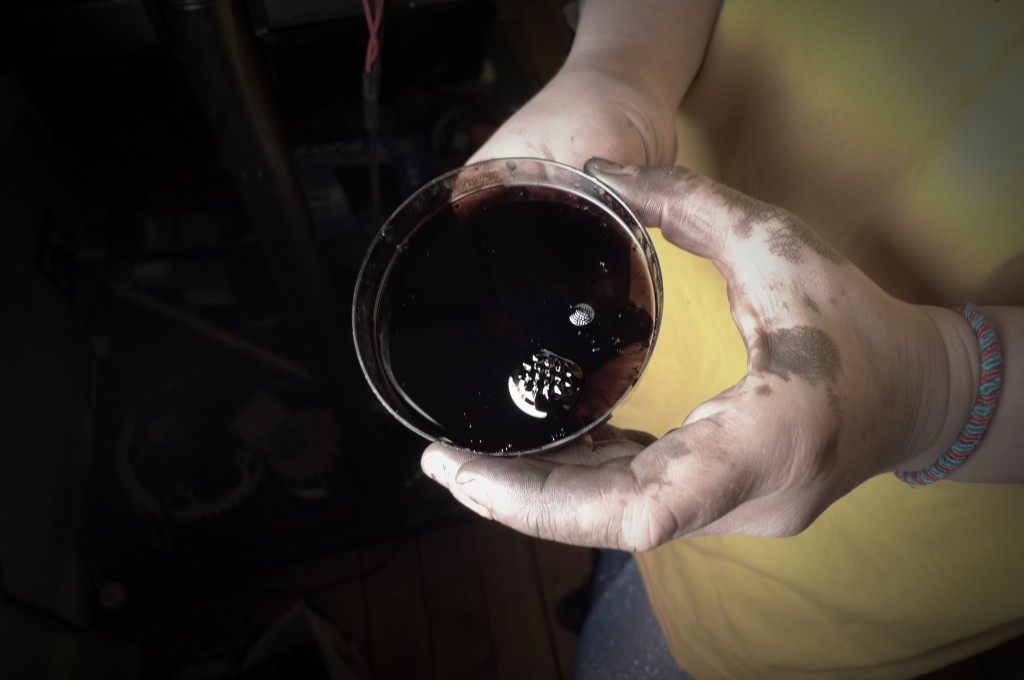
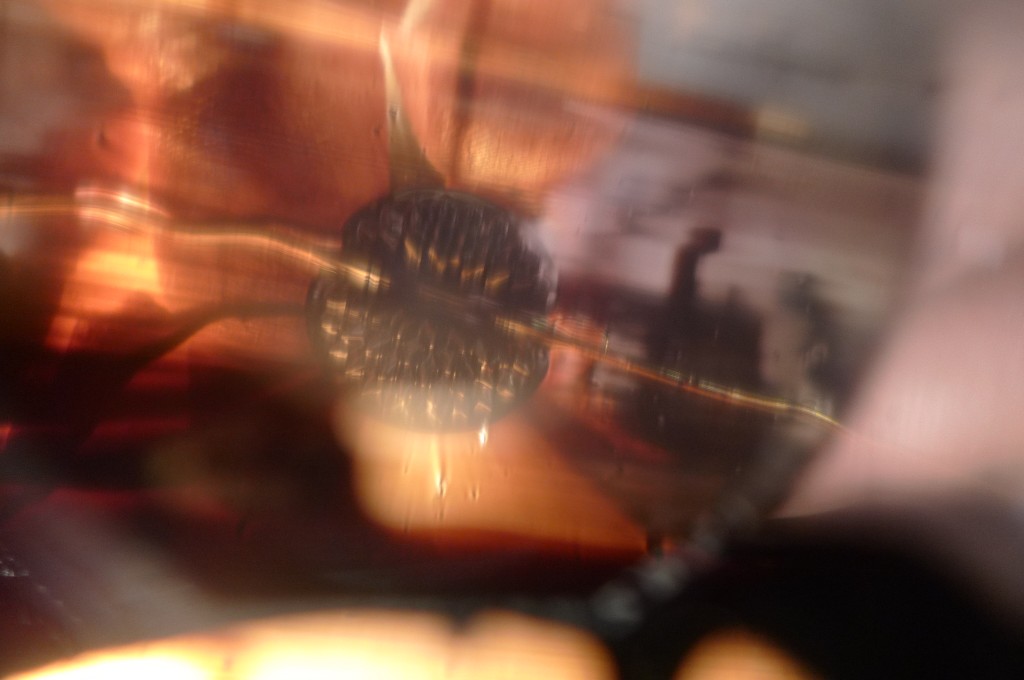
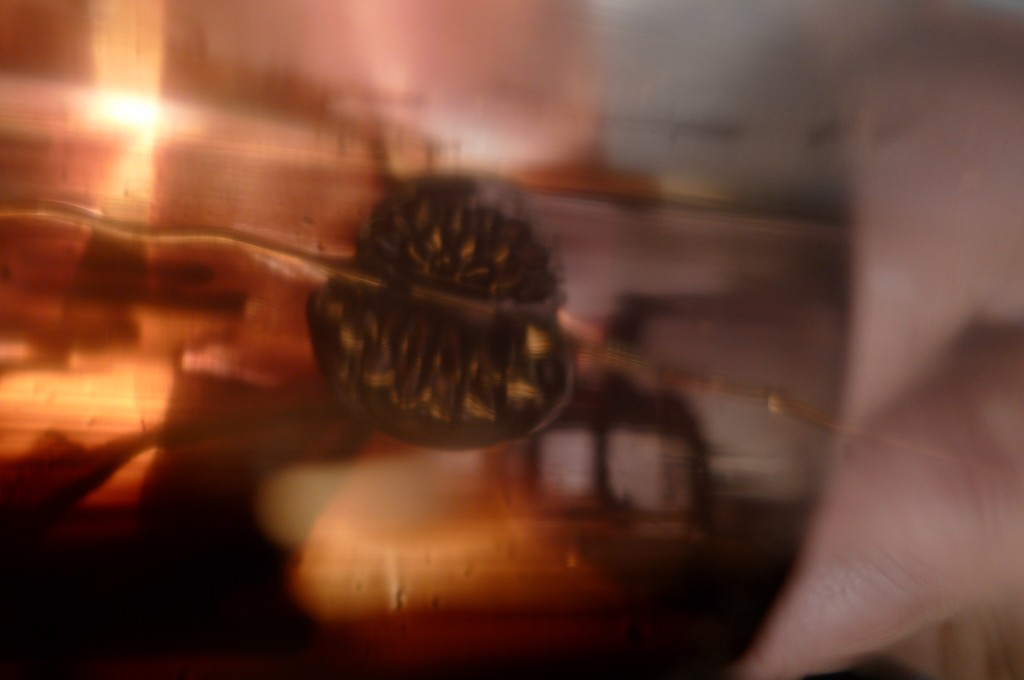
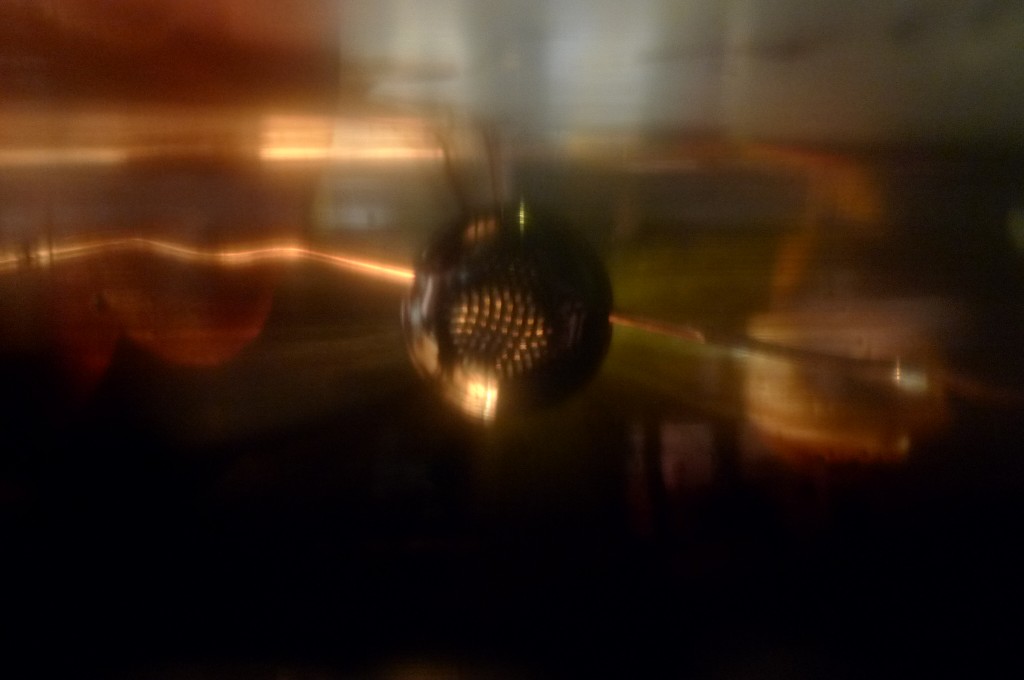
Genevieve and thought about building solar powered ferrofluidic sculpture. So we started to play around with ferrofluid – and made a mess. It is cool stuff and can make some beautiful patterns and behavior.
At first we talked about creating a sound with a photocell , using a “light to sound” circuit – The speaker, powered by a solar panel, would create an electromagnetic field, driving cool patterns in ferrofluid….
well, electromagnets aren’t THAT easy…
a light to sound circuit:

So we have since modified our plan, after many iterations… I think we will log voltage and light input over the course of the month, and do something cool with that data (a ferrofluid-type graph?)
We are still hooked on the electromagnet idea and have played around with some (a nail with a coil, a few solenoids) to see what type of voltage we need to input in order to get some interaction with the ferrofluid
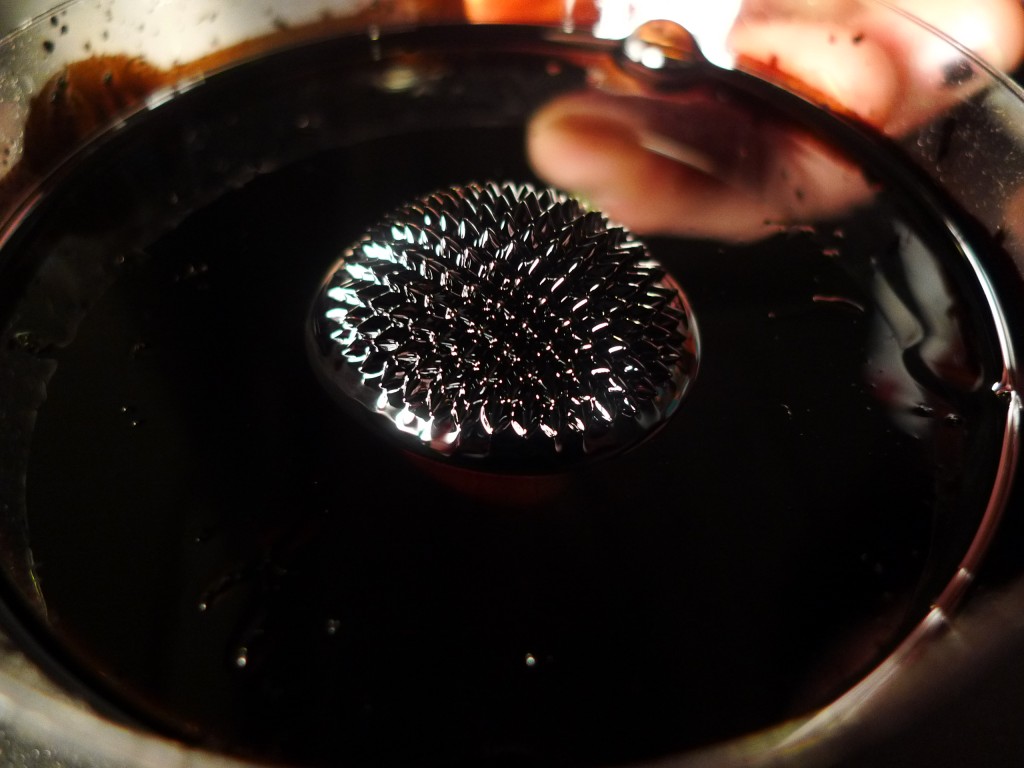
MAGNETIC EXPLOSION:
after the mess:
at the Climbing gym


Things in the gym that have bearings, bushings, sliding things, springs etc…
and some more:


Many things I use for rock climbing are made up of bearings, gears, springs, cams, and other moving parts…
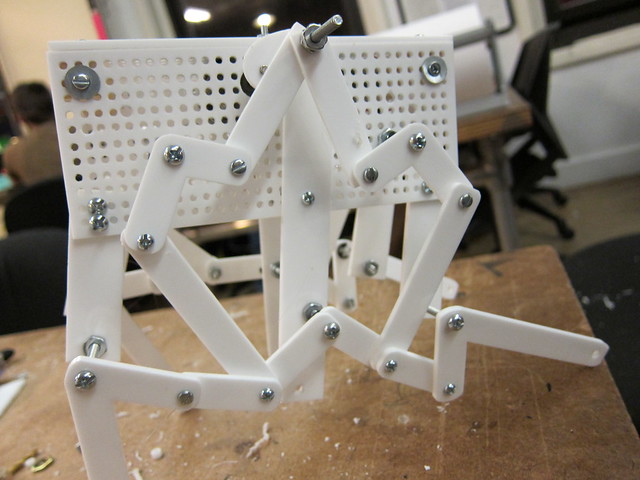
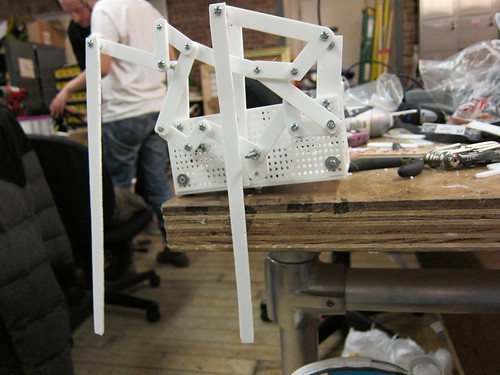
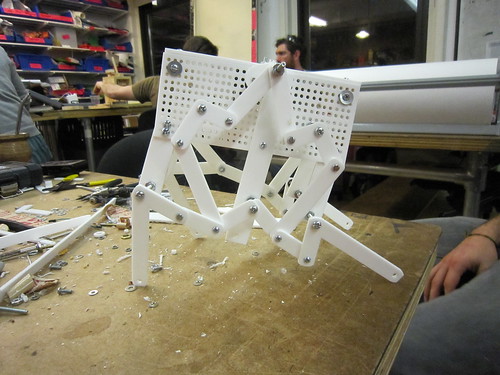
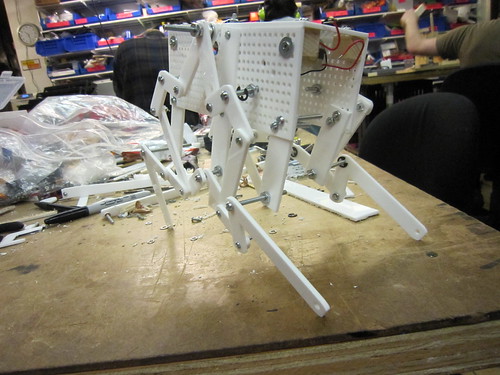
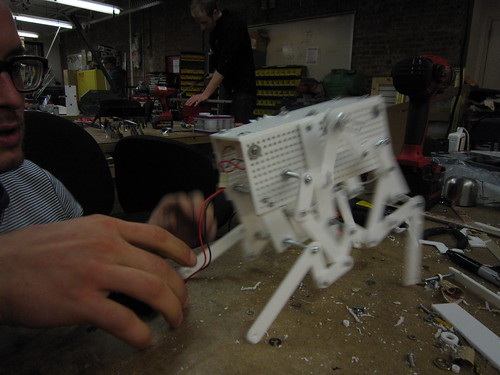
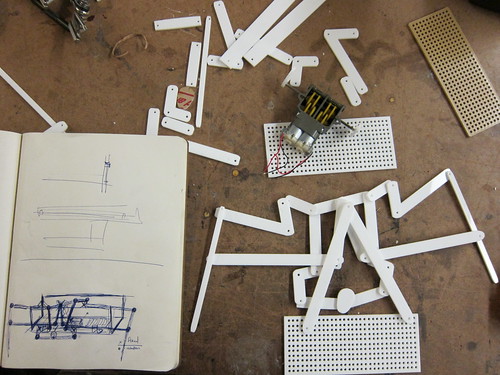
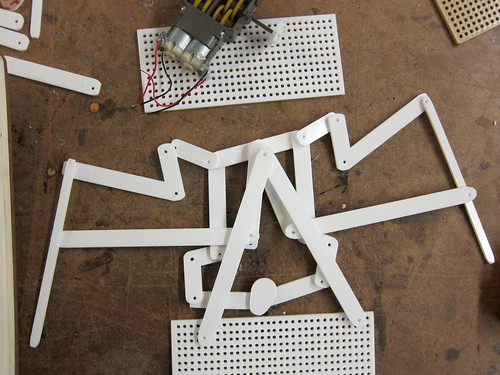
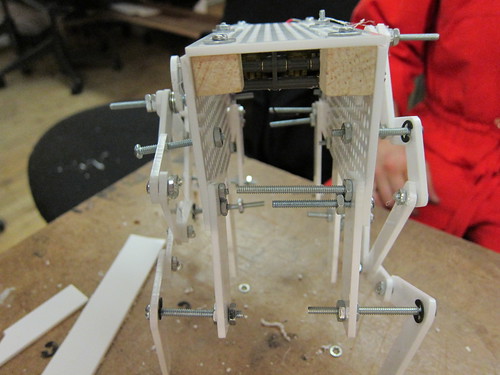
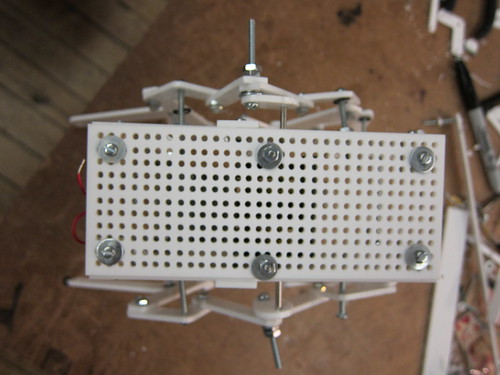
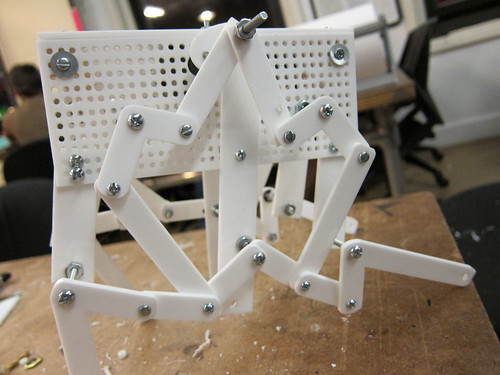
a weird robot – Blatella Mechanica
A design of two minds- Gabriella Levine and Alexander Kozovski– a mechanized creature of linkages.


Mechanisms midterm?

This light fixture I made, to represent a pixel, mixed light using a strip of red, green and blue light.
The result was fascinating, and using moving light in visualized 3D space, I would like to explore how light additively mixes.


Two super awesome machines
The assignment: Pick one impressive machine/mechanism you consider art, and one you consider practical/functional. They don’t have to be electromechanical, but they have to move. Post pictures/videos on your blog and your response to the pieces.
“ART”
Alan Rath, autonomously mobile robots: Rover, I Want, I like to watch
I don’t know too much about Alan Rath’s work, but I do find it impressive. The kinetics of the robotic creatures are wonderfully inventive, and the machines move smoothly, sensibly and organically. There is an eerie unification of machine and organism, and I read it as a commentary or investigation on the relationship of humans and machines / computers.


practical / functional
My favorite mechanism / power tool:
the Stihl 261 chainsaw

The mechanics of it: A chainsaw (or chain saw) is a portable mechanical saw, powered by electricity, compressed air, hydraulic power, using a two-stroke engine. This means that in two strokes of the piston, it goes through the cycle of intake, crankcase compression, transfer/exhaust, compression, power (this is called the Ottos cycle).
Here are some images showing how a two-stroke engine works:


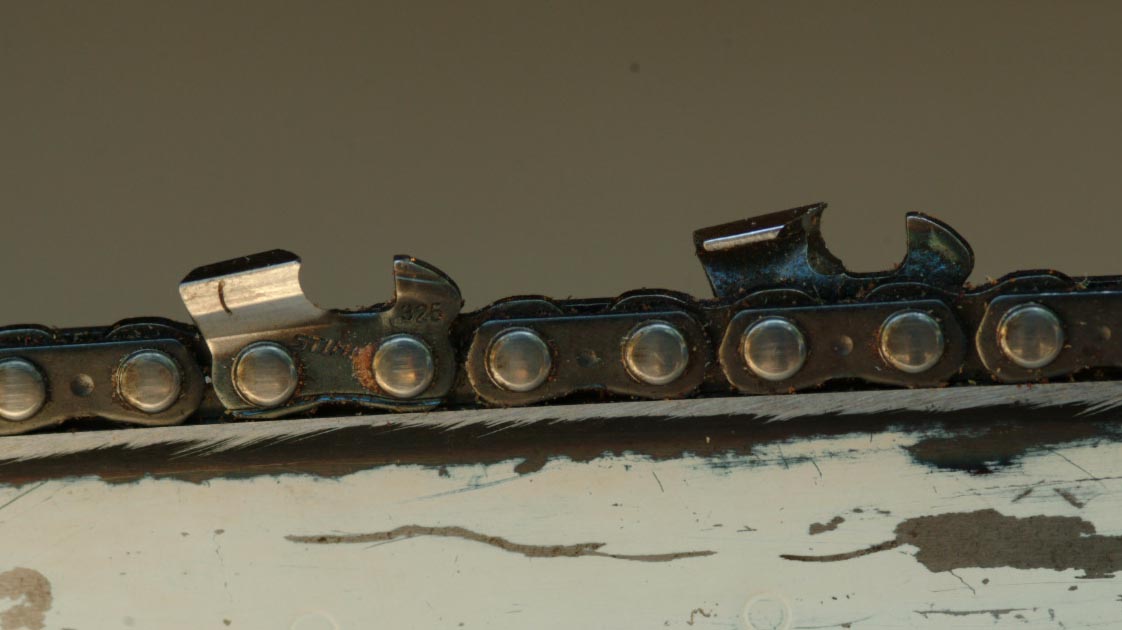
My pics :


LEGOS
Natalie and I built a simple machine out of legos using the technic set. Then we added a remote control. Simply, it is a remote control car. 


Rube Goldberg machine
I worked with Christine, Ivana, and Hana on the following first assignment, which was captured on the video above:
Build a machine that cracks an egg
Your machine should be loaded with an egg. It should be reasonably quick to reload your machine with a new egg between runs (no disassembly of the machine). Acceptable triggers to start the machine include (for example) a button press, pulling/pushing a lever, or yanking a string. Your machine should consist of at least 5 energy transfers (steps). After the initial start no human intervention is allowed. You may use any materials you can find/make/buy. Each step should be unique and contribute to the goal. Basically this means you can’t, for example, have some rolling ball hit 5 pins on its way down a ramp and have those actions count as steps (lame). The majority of the egg and NO MORE than 1/2 of the shell can end up in the final receptacle to get full credit.
You will get 2 attempts. Your machine can take no longer than 5 minutes to complete the task from the time you initiate movement.
Mechanisms and Things that move
I can’t believe I got in??