Ferriferous progress
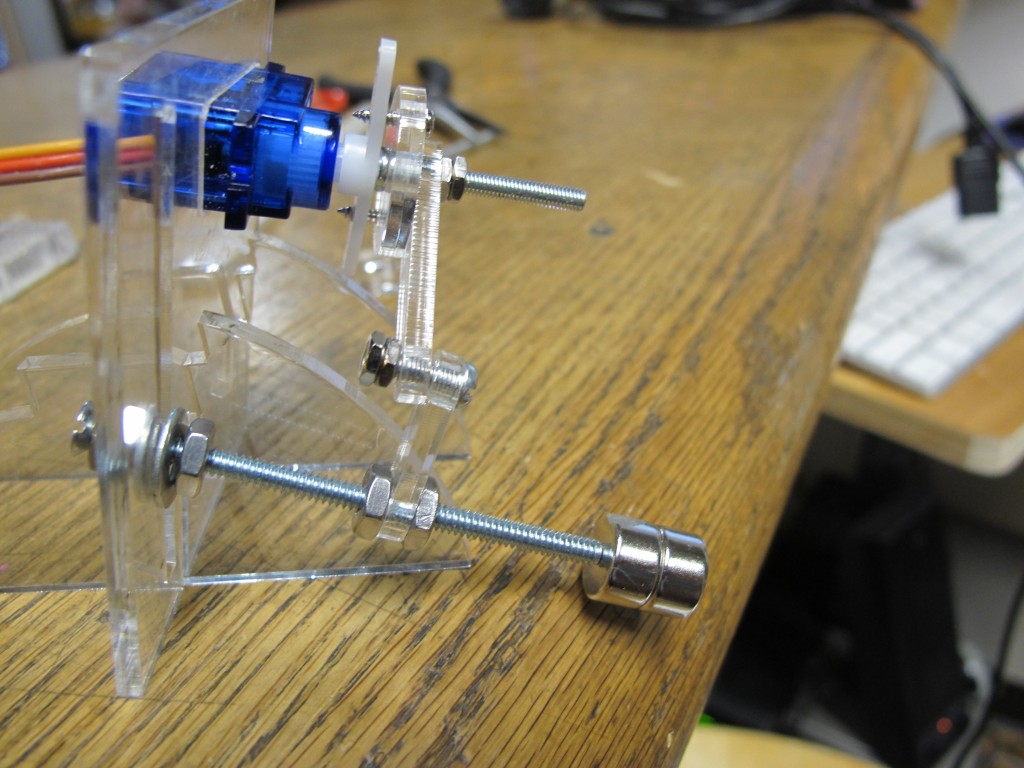
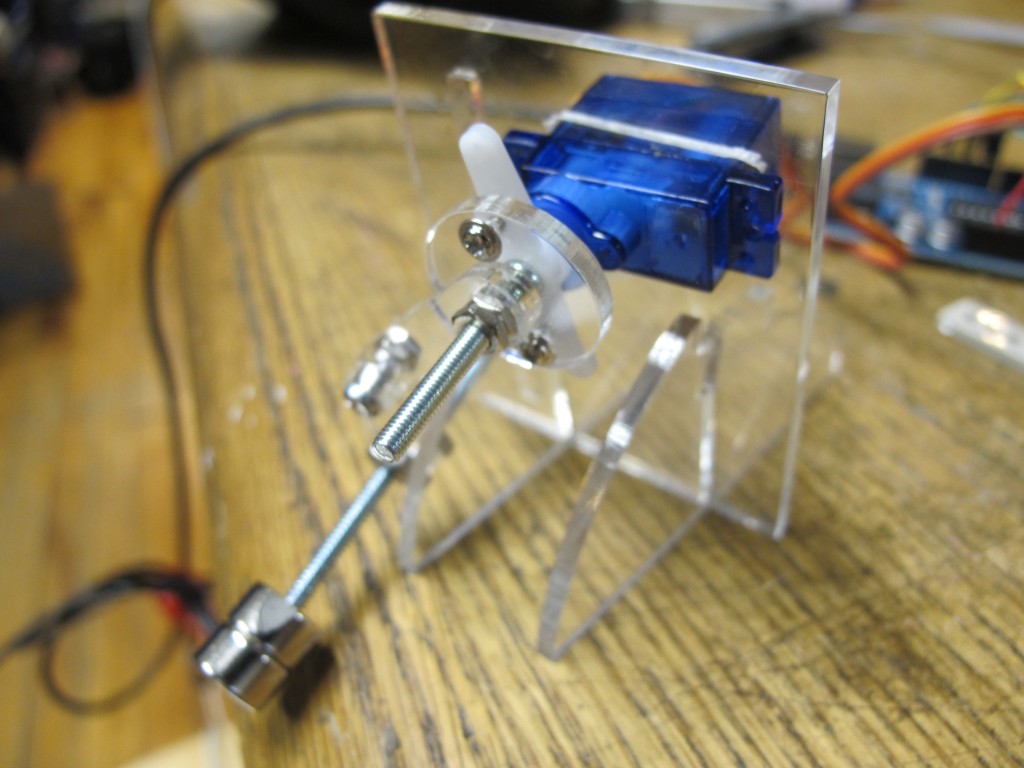
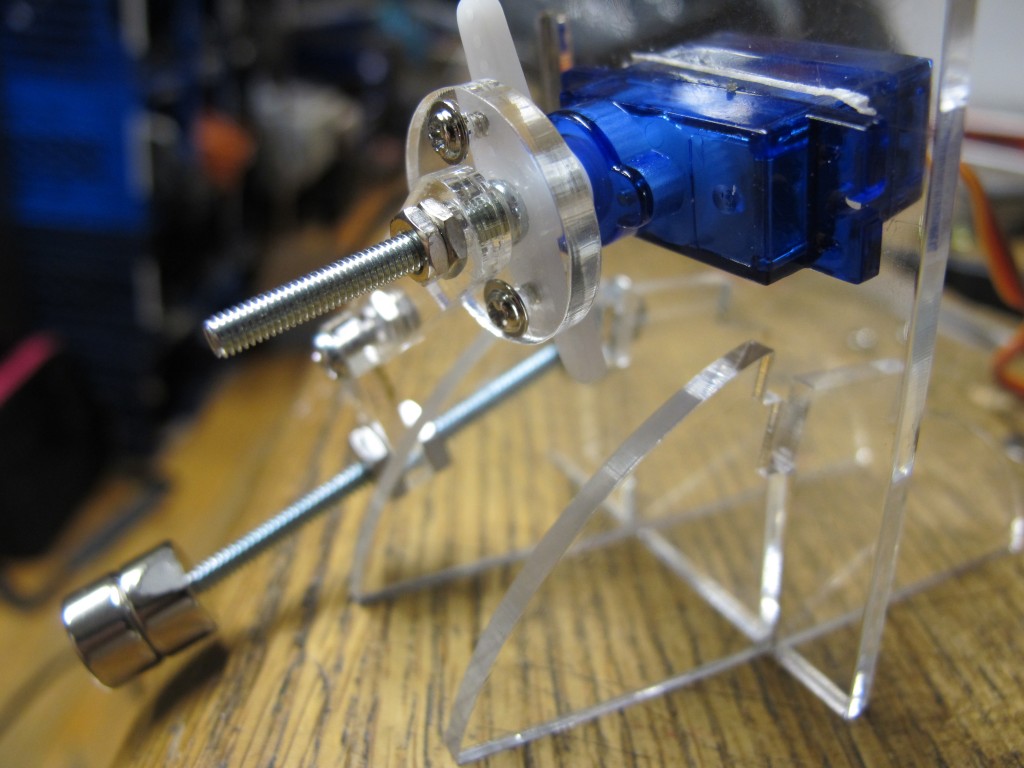
I made a prototype, based on MakerBot’s Unicorn PenPlotter, of a servo mechanism that will move vertically in linear motion:
Then we modified it to look simpler :
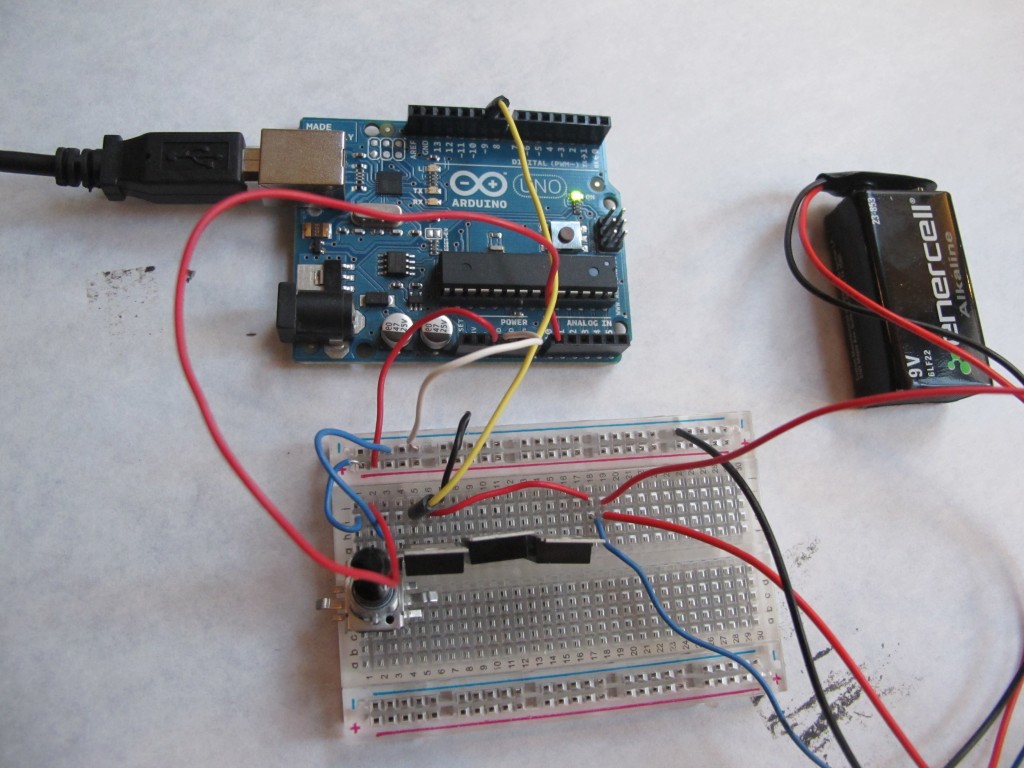
At first we thought we could use the solar kit to charge a 12V solenoid, which would, through arduino, read our data of solar light levels over the past month, and pulse an electromagnetic field through ferrofluid, thereby mapping our data at a condensed temporal resolution. However, although the solar kit has a 12 V battery, we were not getting nearly enough response from the solenoid because, perhaps, the charge controller limits the current? (I need to think through this more)
We also tried using different beam circuits to store voltage in capacitors then to discharge, pulsing a solenoid. Similarly, we could not quite get enough current.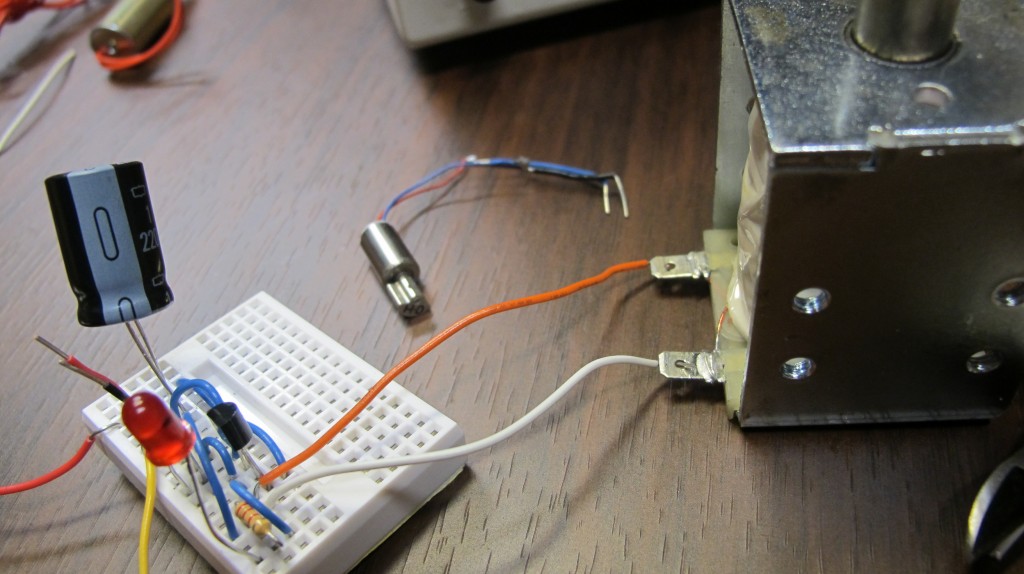
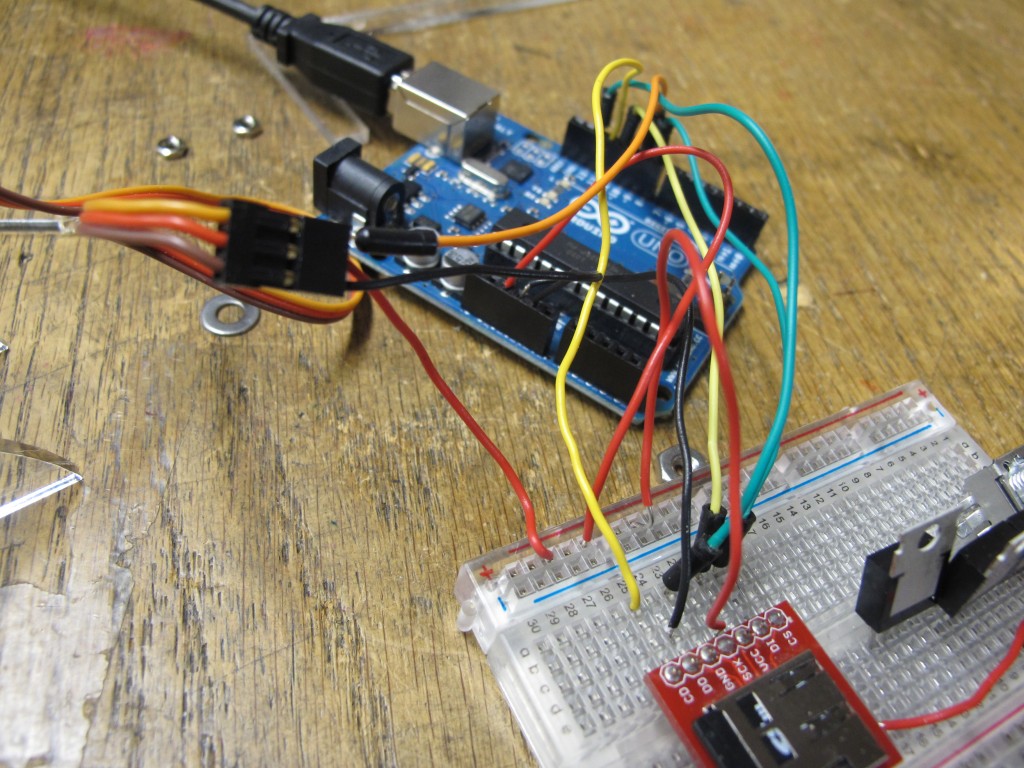
We had a bit of trouble reading through the data from our micro SD card – We switched to the adafruit sd Card shield, and I think we might have been choosing the wrong chip Select pin? we couldn’t figure out why the file DATA.TXT was not opening correctly. After a while, we switched back to the sparkfun shield or the card reader, and it worked fine.
This is the code we practiced with, but later we got the data on the SD card to read directly onto the arduino (see below)
#include <Servo.h>
int changer = 1;
 int incomingData;//variable to read incoming data
Servo myservo;  // create servo object to control a servo
                // a maximum of eight servo objects can be created
 int servoState;
 int prevState;
  const int transistorPin = 9;    // connected to the base of the transistor

int pos = 0;    // variable to store the servo position
int myData[] = {1,2,3,4,5,6,7,8,9,10,11,12,13, 13,13,13,13,13,13,13,13,13,13,12,11,10,9,8,7,6,5,4,3,2,1};// = new Array[12];//1,myData2;


void setup()
{
    Serial.begin(9600);
       pinMode(transistorPin, OUTPUT);
  myservo.attach(9);  // attaches the servo on pin 9 to the servo object
Serial.print("Servo Data Test!!");

 }

void loop()
{


       for(int i=0;i<29;i=i++){
         if(i>12 || i<=1){changer*=-1;}
       int intt=map((myData[i]*20),0,20*13, 180,70);
       int solenoid = map((myData[i]*20),0,20*13, 700,1023);
          analogWrite(5, solenoid);
        myservo.write(intt);
       delay(50);
       }
  }
We are using the Sparkfun data logging shield
//CS pin : 8; VCC/GRNd; DO pin 12; DI pin 11
//using the sparkfun microsd data logger, (or the shield); writes millis and time in secs

#include <SdFat.h>
#include <SdFatUtil.h>
#include <ctype.h>

//Create the variables to be used by SdFat Library

Sd2Card card;
SdVolume volume;
SdFile root;
SdFile file;
 const int transistorPin = 5;    // connected to the base of the transistor
  int potValue1 = 0;               // value returned from the potentiometer
#include <Servo.h>
char name[] = "DATA.TXT";     //Create an array that contains the name of our file.

char contents[256];           //This will be a data buffer for writing contents to the file.
char in_char=0;
String line;
int index=0;                  //Index will keep track of our position within the contents buffer.
Servo myservo;  // create servo object to control a servo
void setup(void)

{
    Serial.begin(9600);        //Start a serial connection.
       pinMode(transistorPin, OUTPUT);
    pinMode(8, OUTPUT);       //Pin 10 must be set as an output for the SD communication to work.
    card.init();               //Initialize the SD card and configure the I/O pins.
  myservo.attach(9);  // attaches the servo on pin 9 to the servo object
    volume.init(card);         //Initialize a volume on the SD card.
    root.openRoot(volume);     //Open the root directory in the volume.
}
void loop(void){
   // file.open(root, name, O_CREAT | O_APPEND | O_WRITE);    //Open or create the file 'name' in 'root' for writing to the end of the file.

    //sprintf(contents, "Millis: %d    ", millis());    //Copy the letters 'Millis: ' followed by the integer value of the millis() function into the 'contents' array.
    //file.print(contents);    //Write the 'contents' array to the end of the file.

 // file.close();            //Close the file.

 file.open(root, name, O_READ);    //Open the file in read mode.
    in_char=file.read();              //Get the first byte in the file.
    //Keep reading characters from the file until we get an error or reach the end of the file. (This will output the entire contents of the file).

    while(in_char >=0){            //If the value of the character is less than 0 we've reached the end of the file.
        Serial.print(in_char);    //Print the current character
        //line = file.read();//read each line?
       // Serial.println(line);

       in_char=file.read();      //Get the next character


        float newFloat = map(in_char, 0,9,0,180);

        myservo.write(in_char);
        float solin_char= map(in_char, 0,9,500,1023);
        analogWrite(5, solin_char);
        delay(300);


    }
    file.close();    //Close the file
    //delay(1000);     //Wait 1 second before repeating the process.
}
Some more videos of progres and the mechanism:
