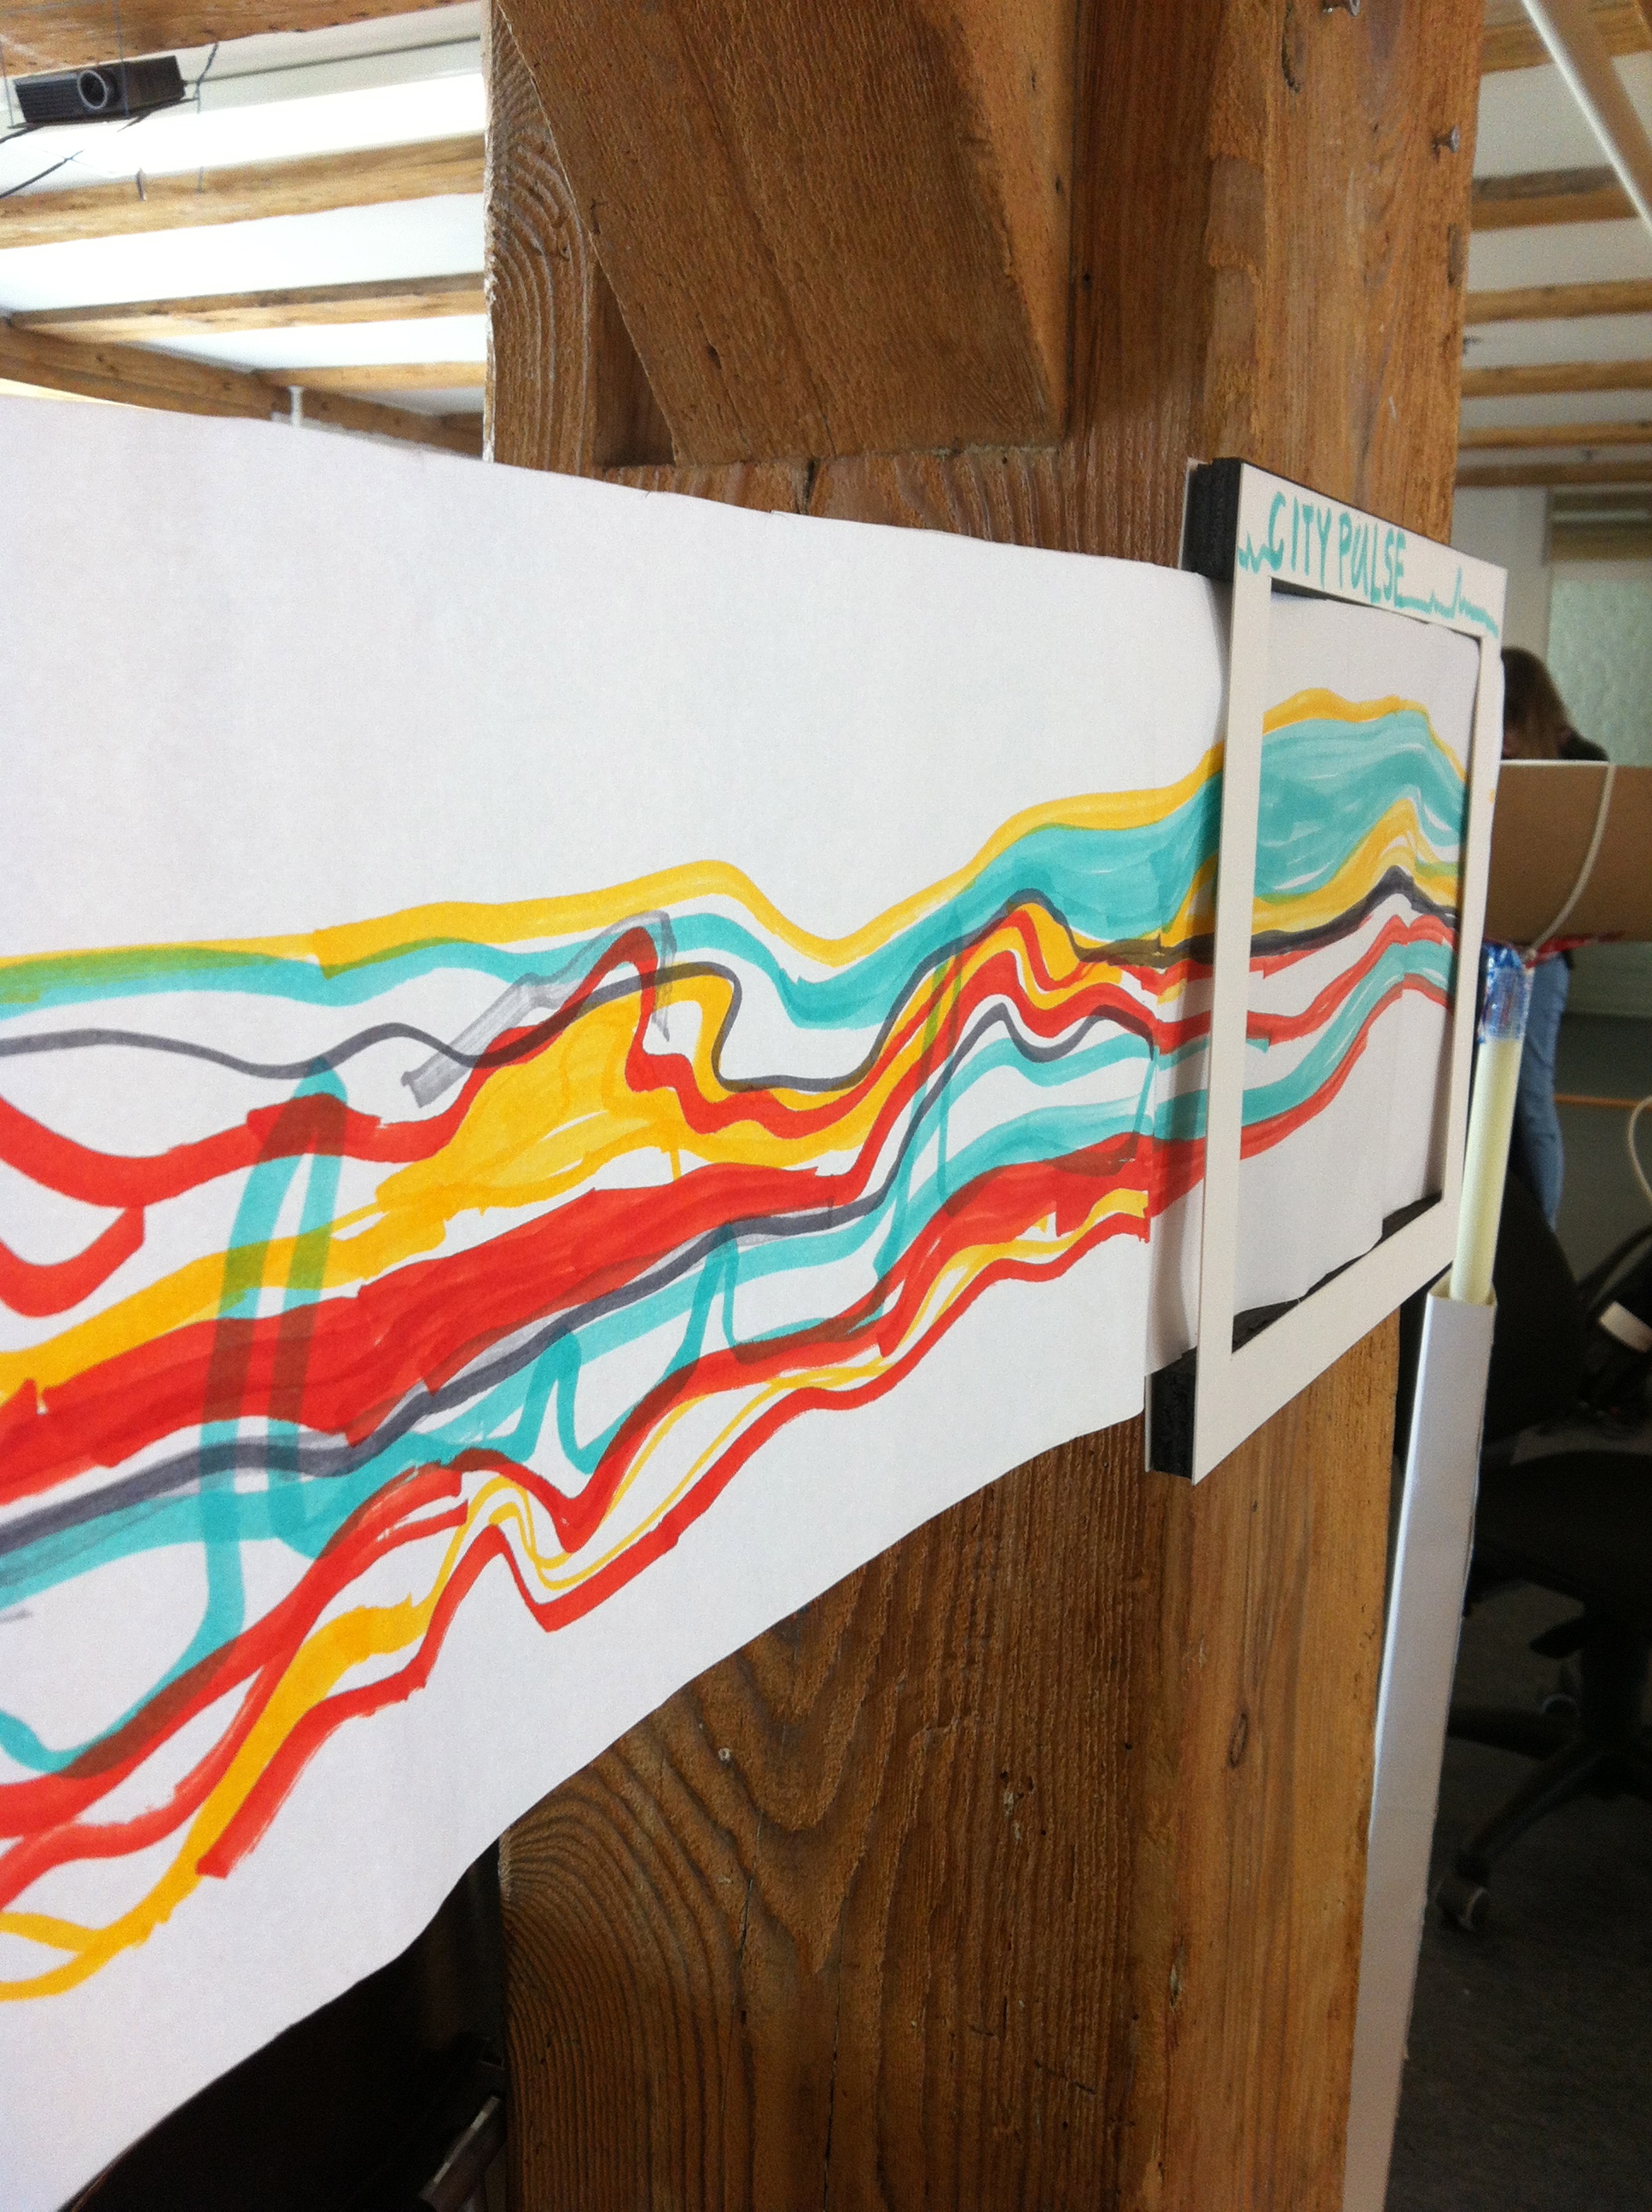
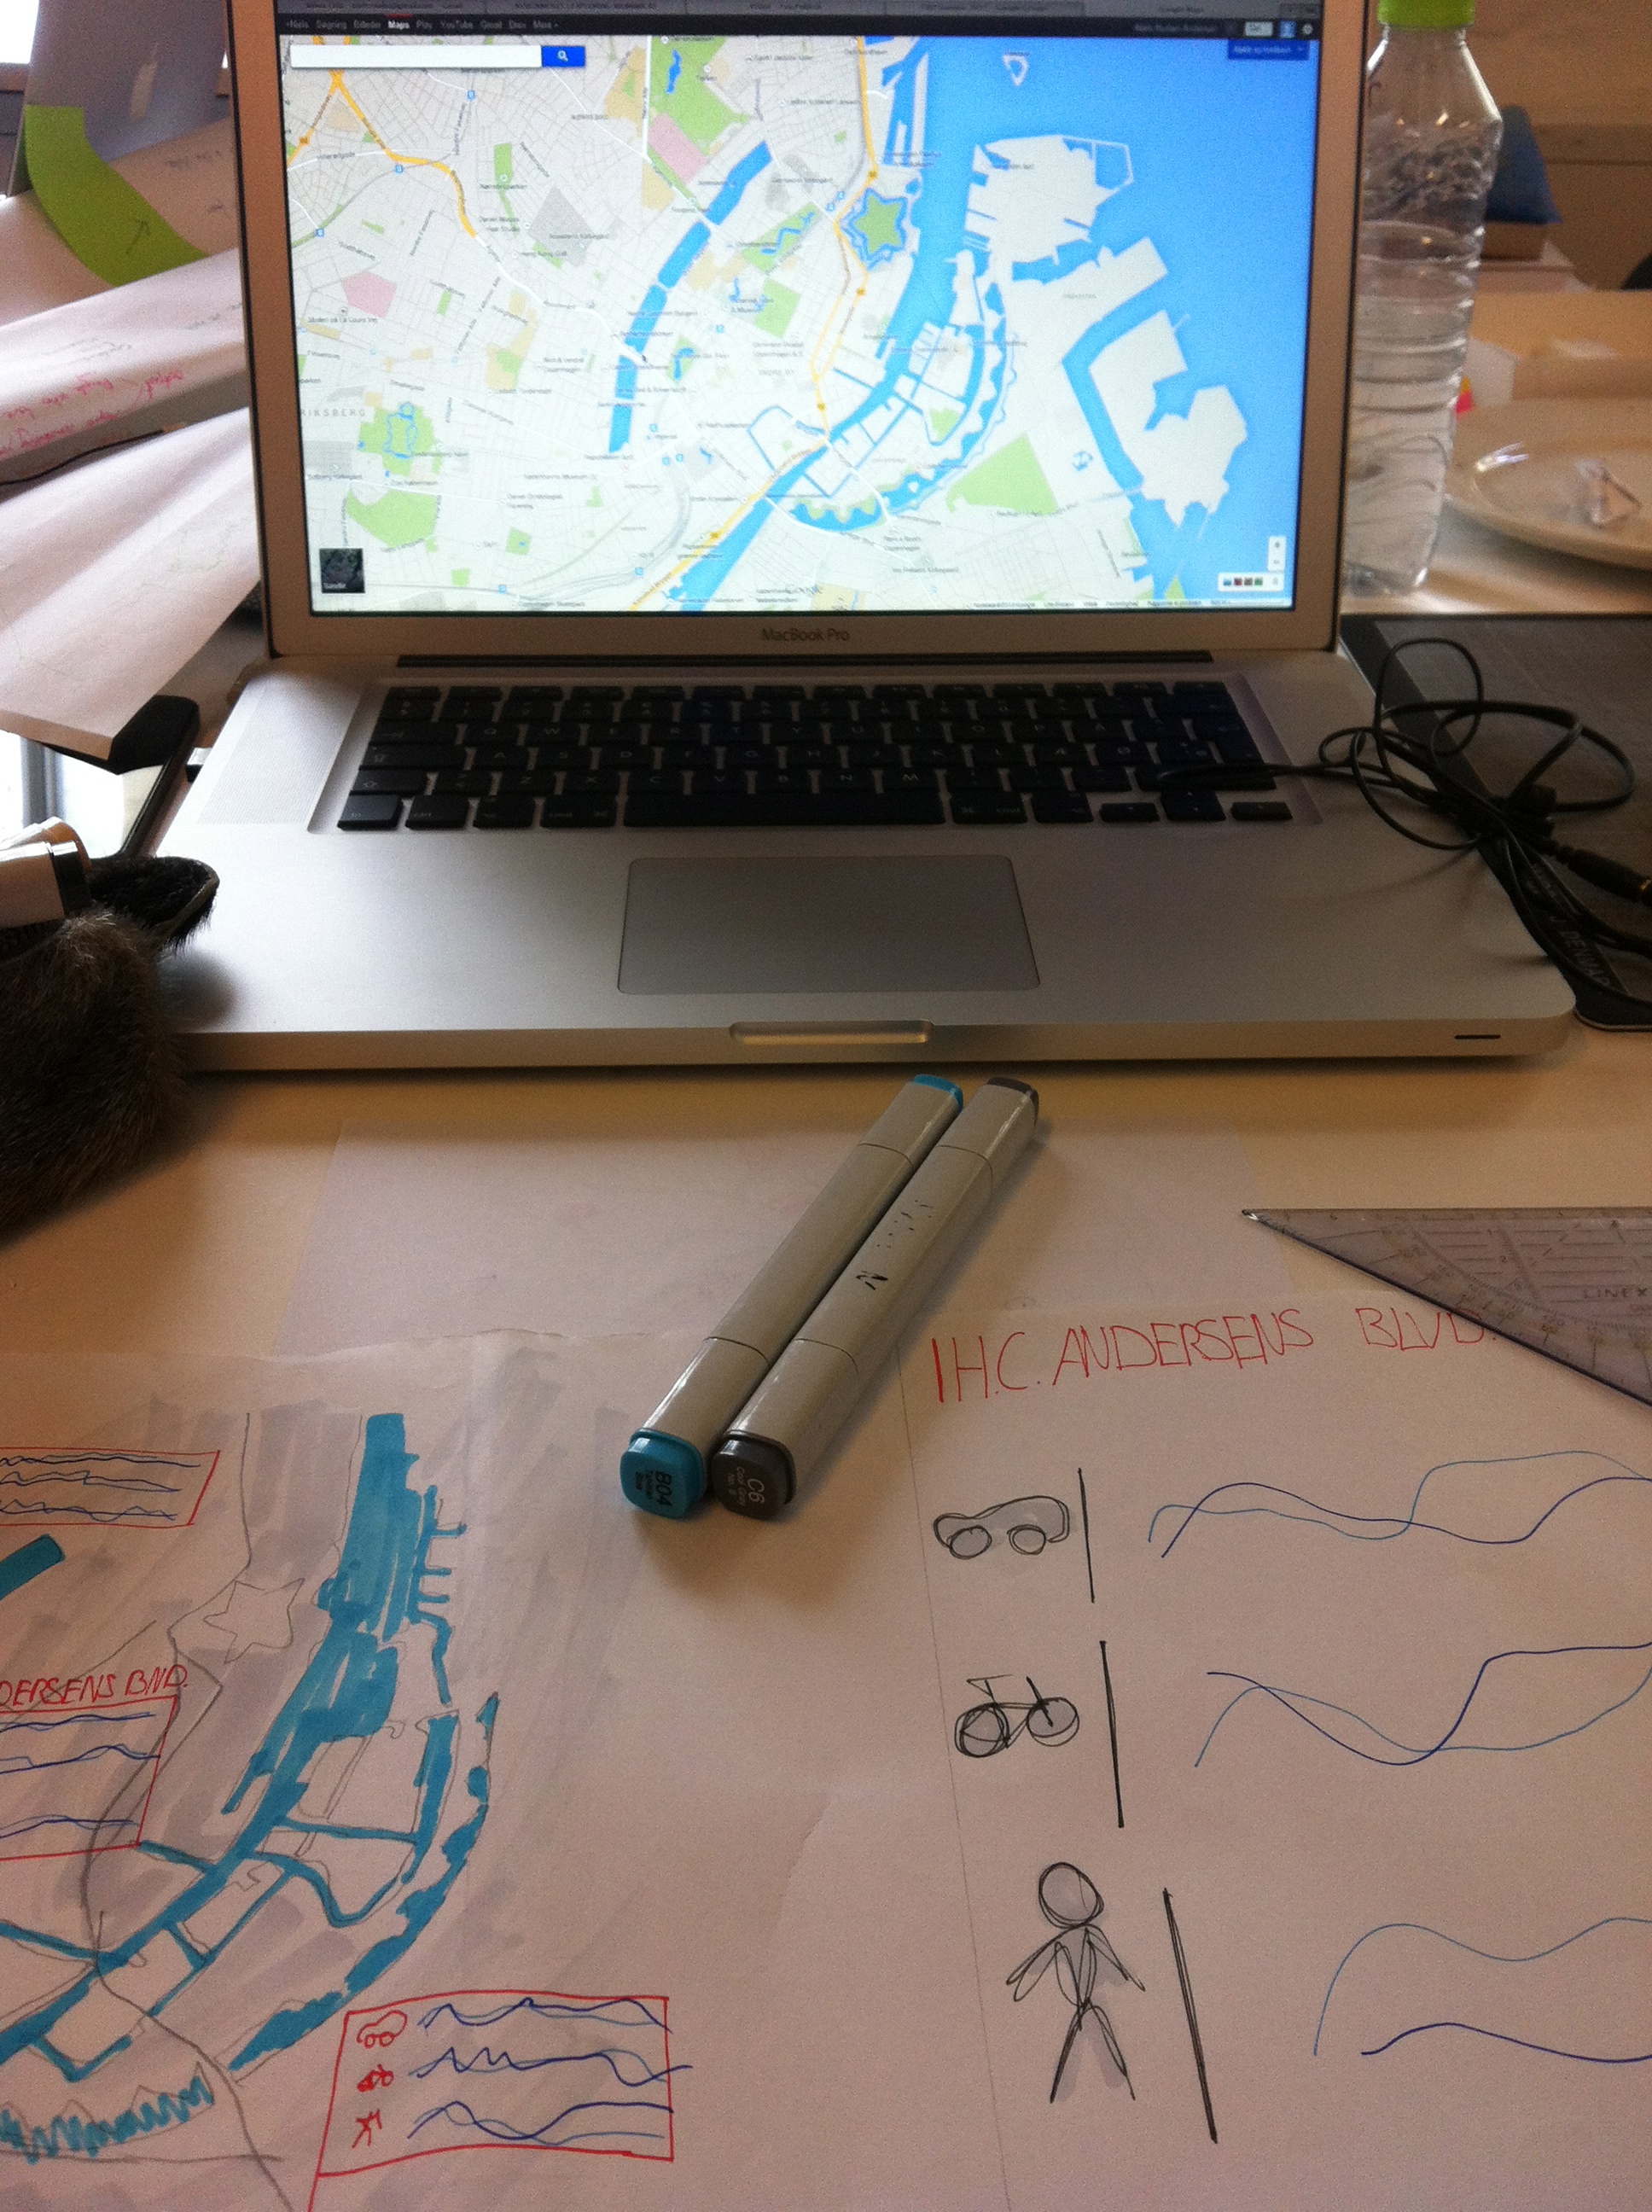
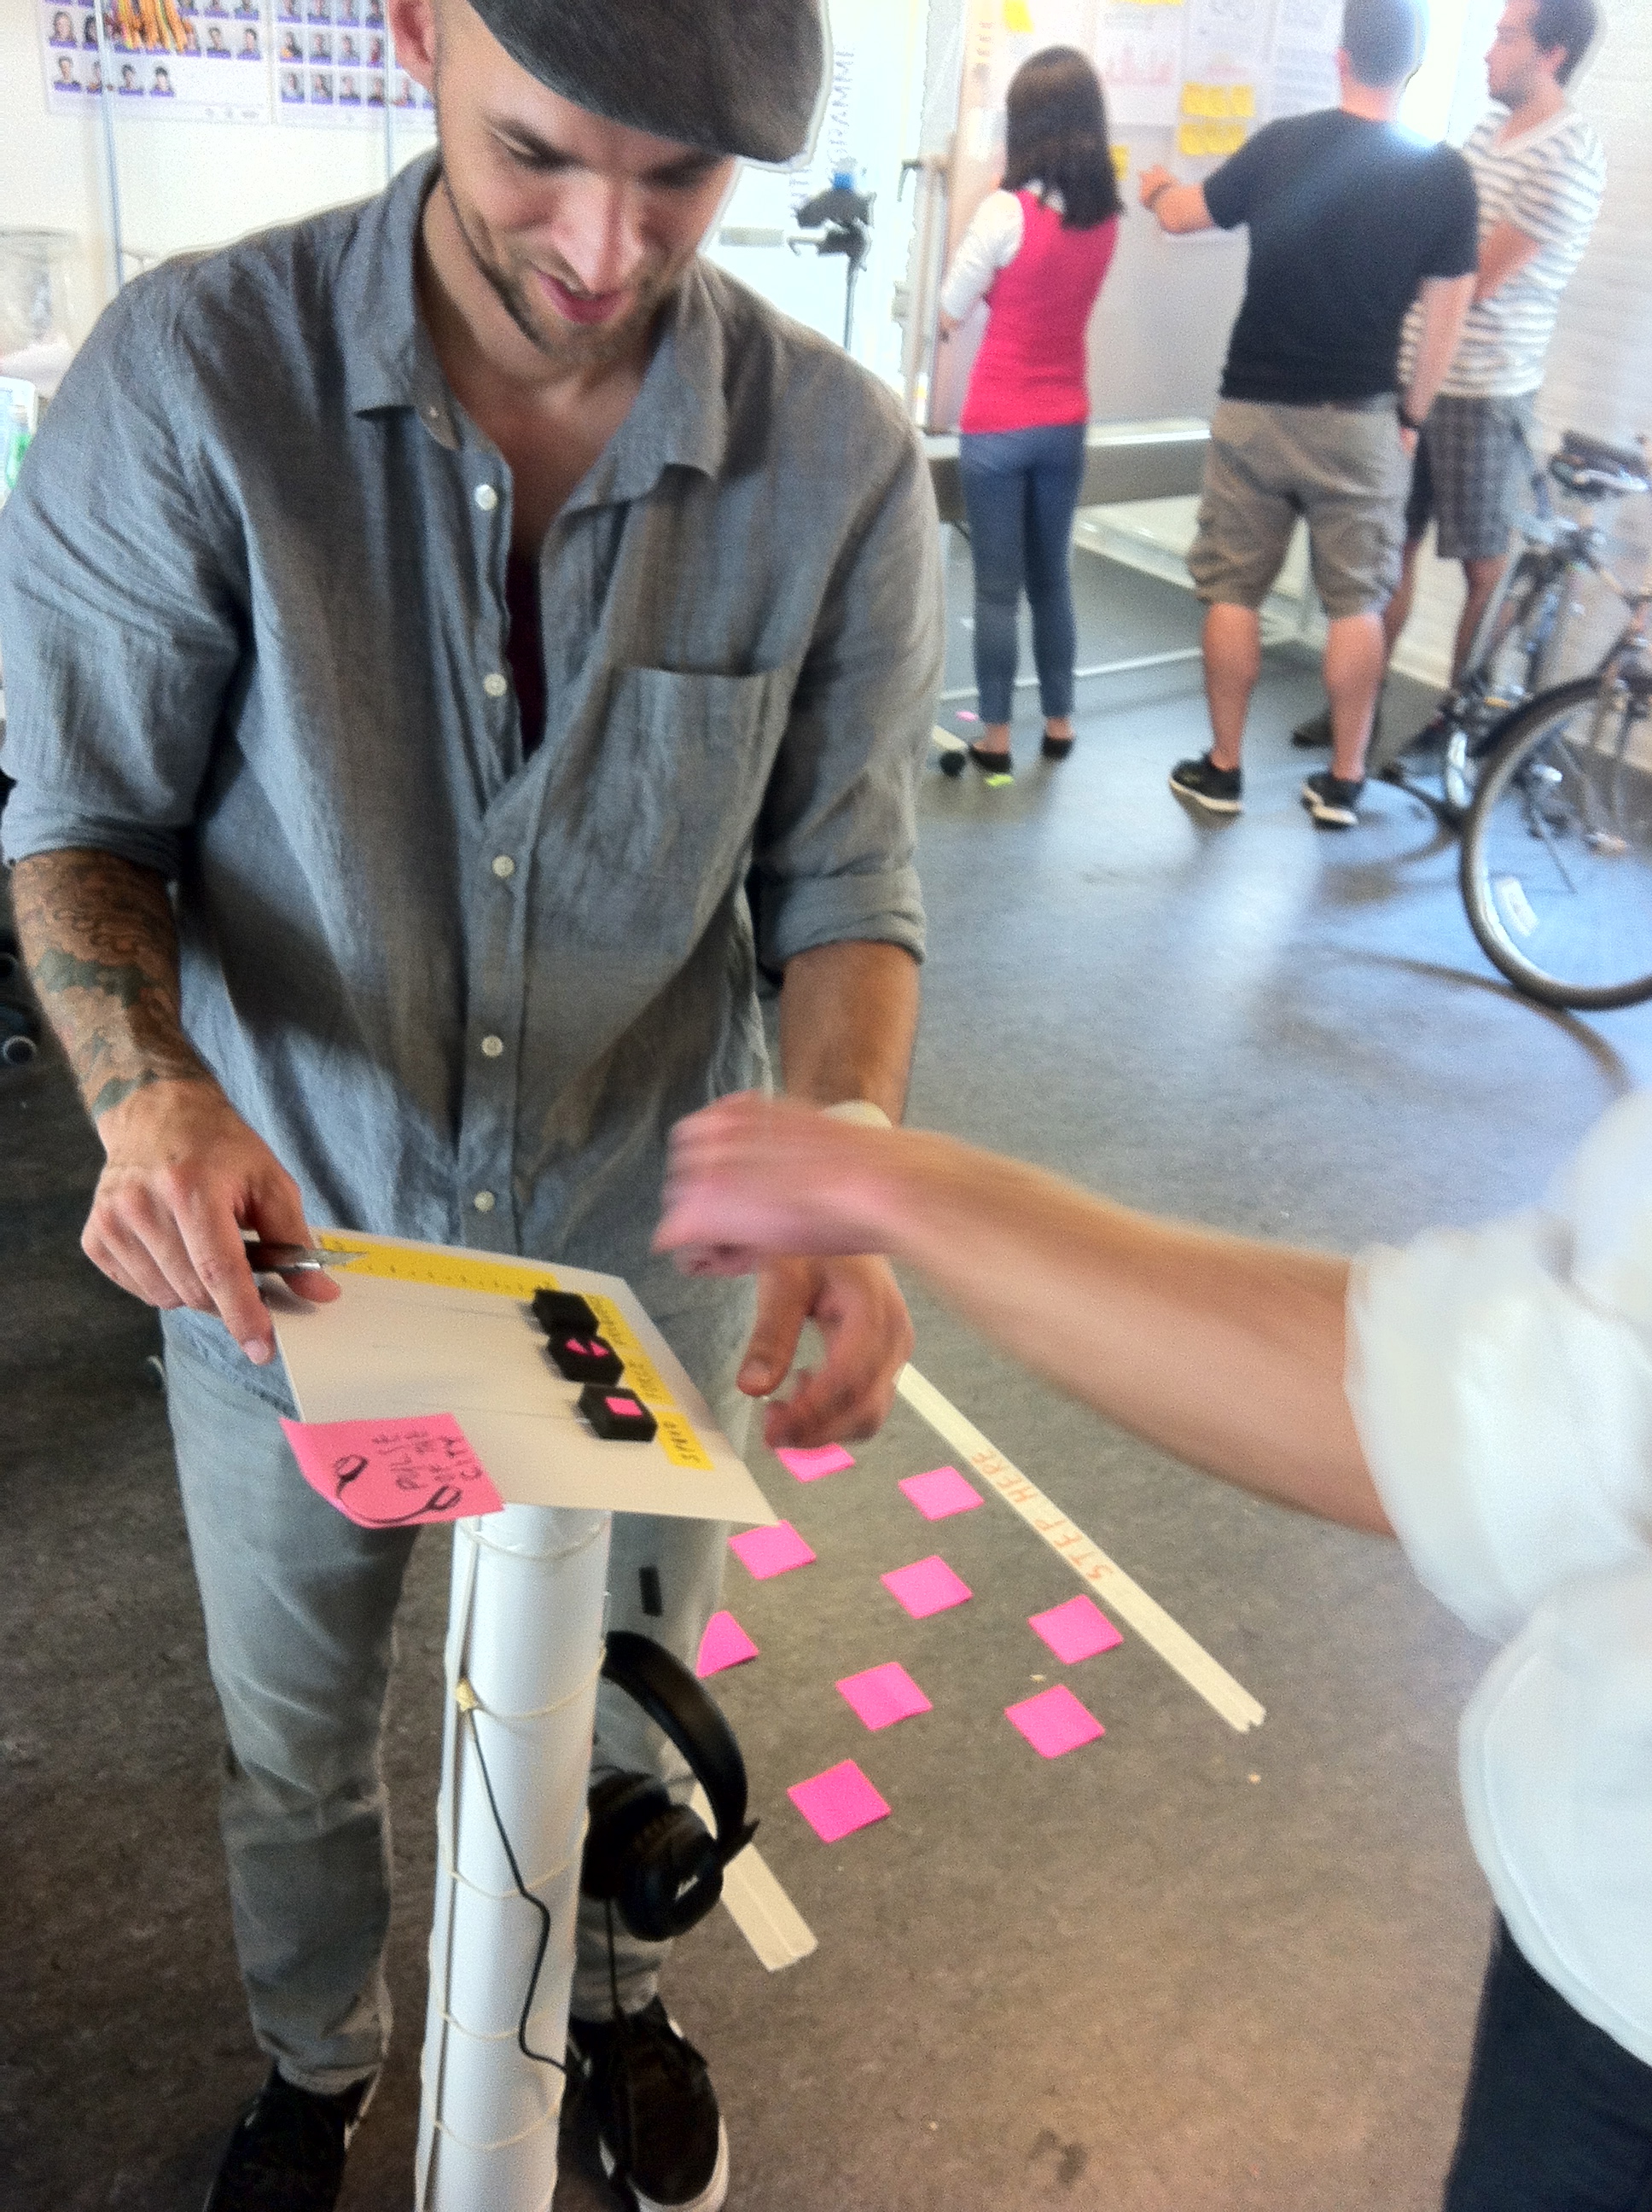
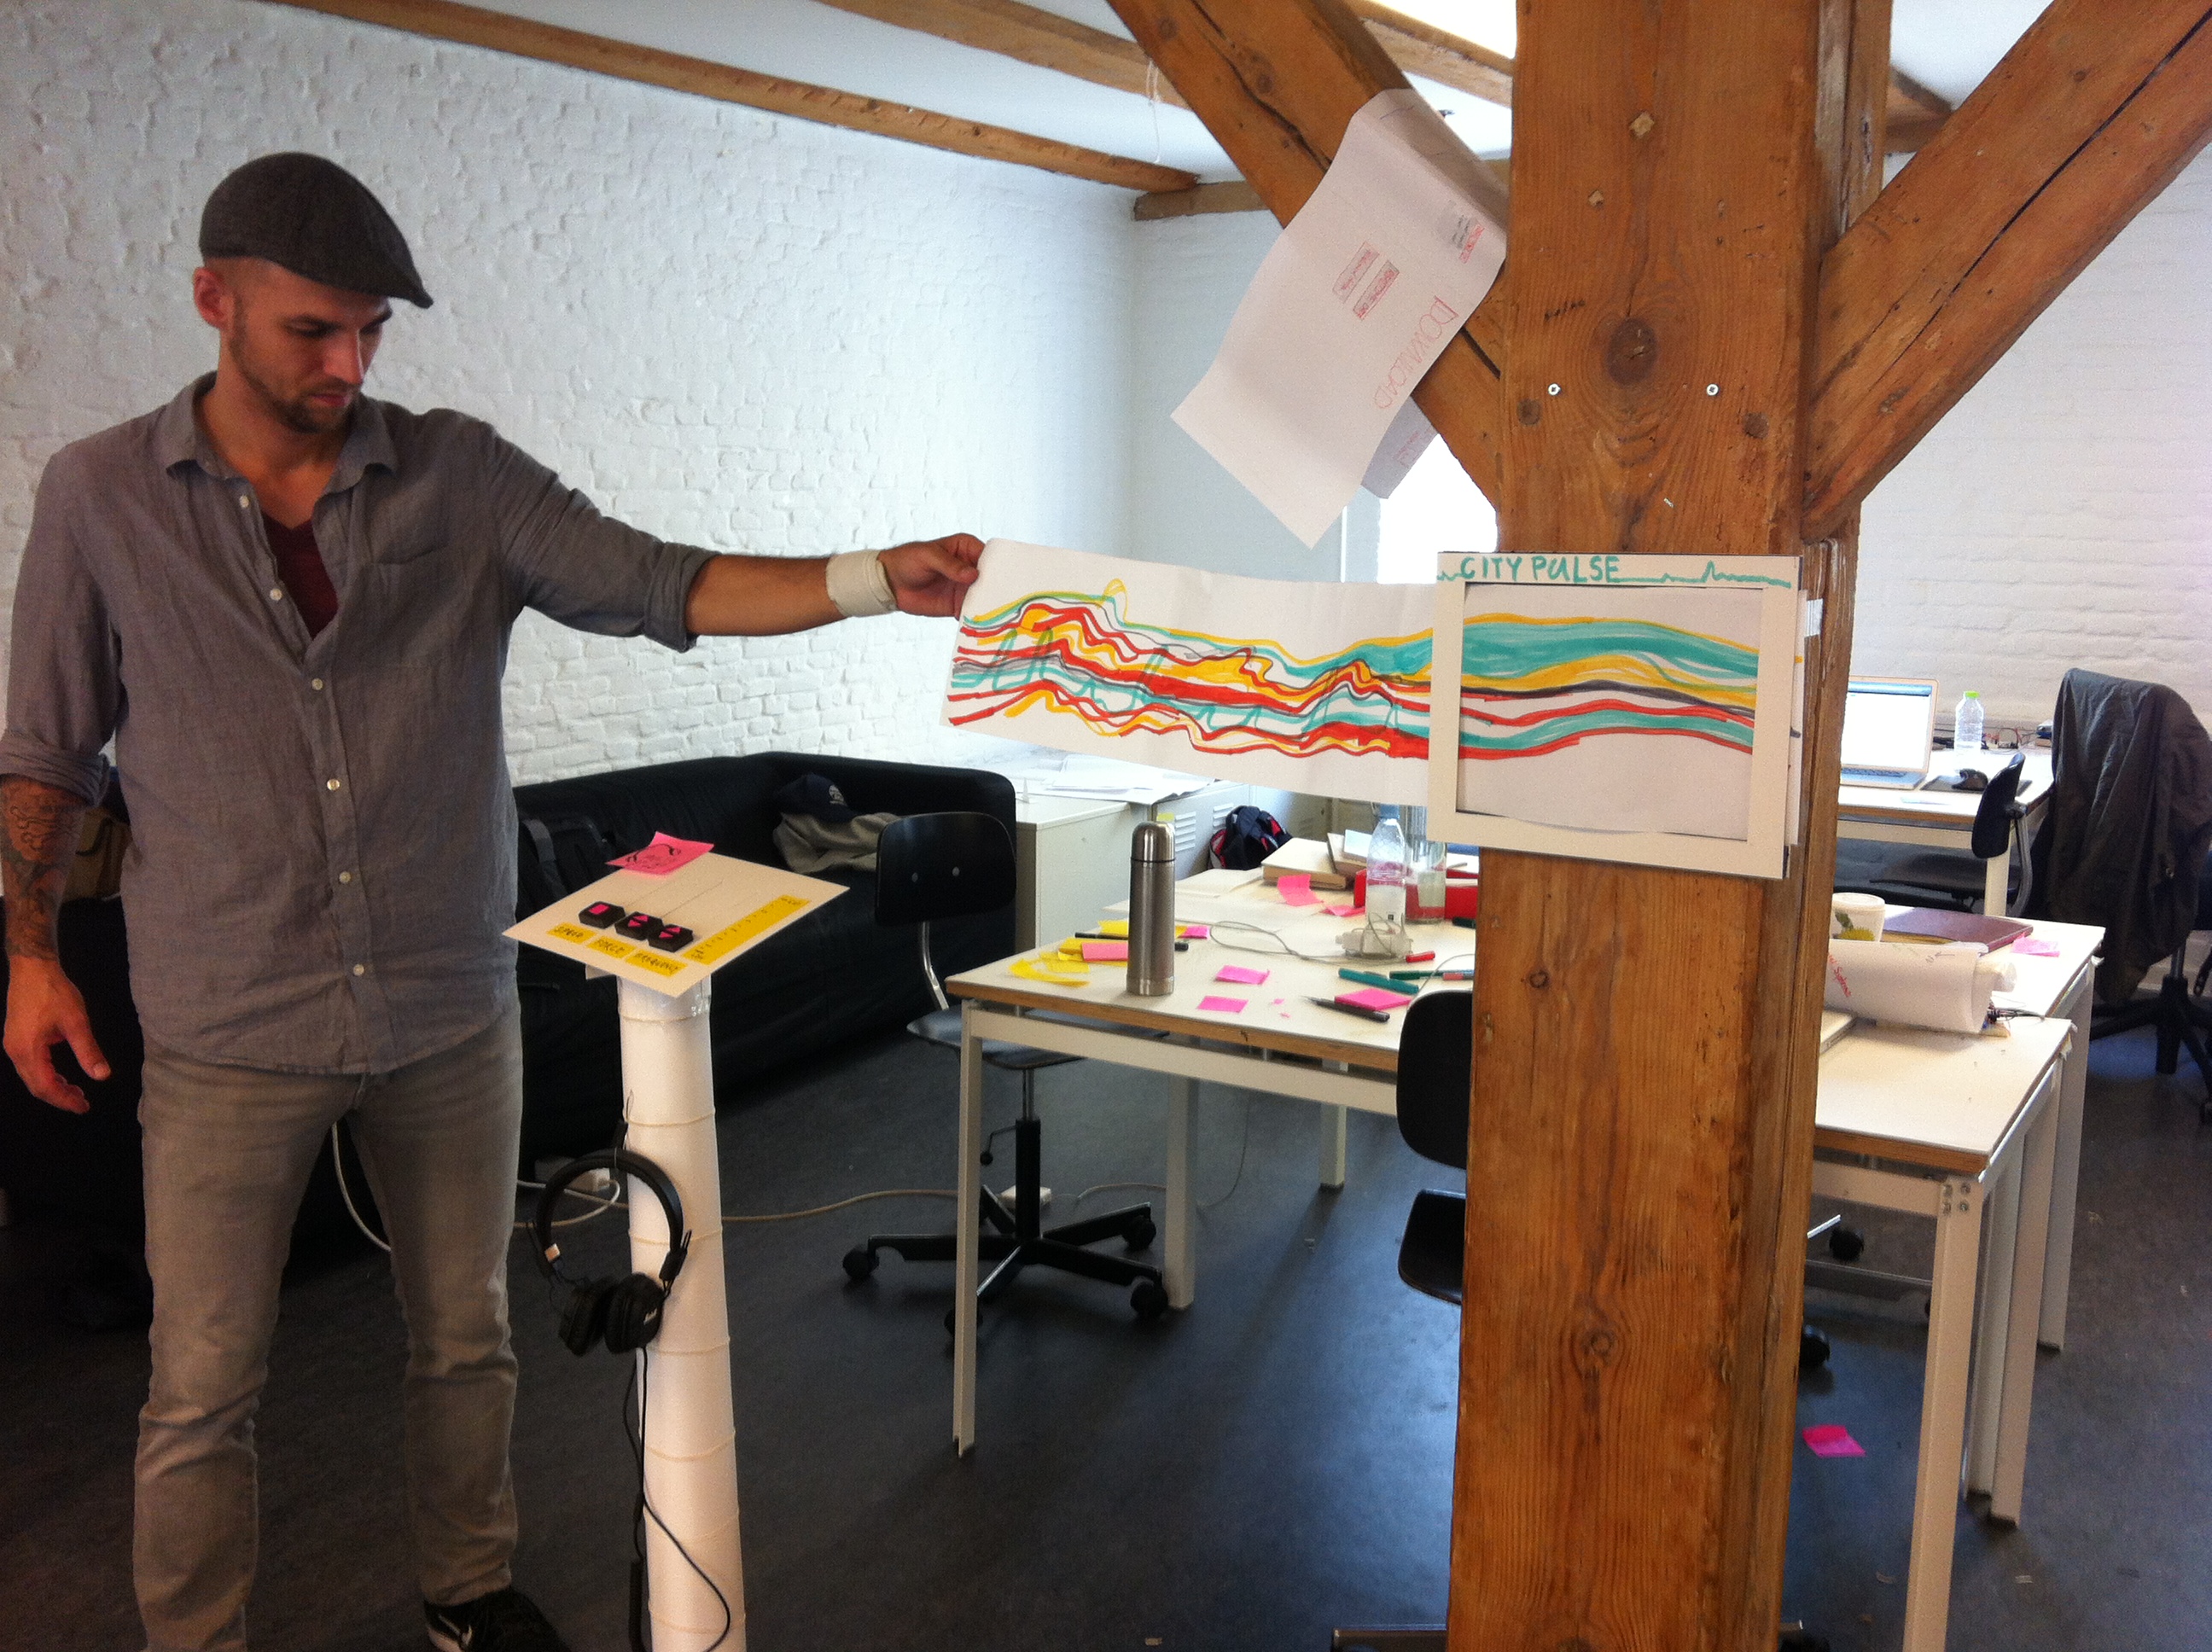
After we had honed in on our three ideas, we started to make quick prototypes using just paper and easy materials to get our ideas across for user testing. This stage really helped us to critically evaluate our ideas and test the validity of our concept. Some new thoughts emerged out of this process : scaling up of our concept-comparing the pulses of different cities or maybe deriving these movement patterns through personal devices/trackers. There were also some concerns about people needing immediate feedback so they know that they are a part of the loop being created.
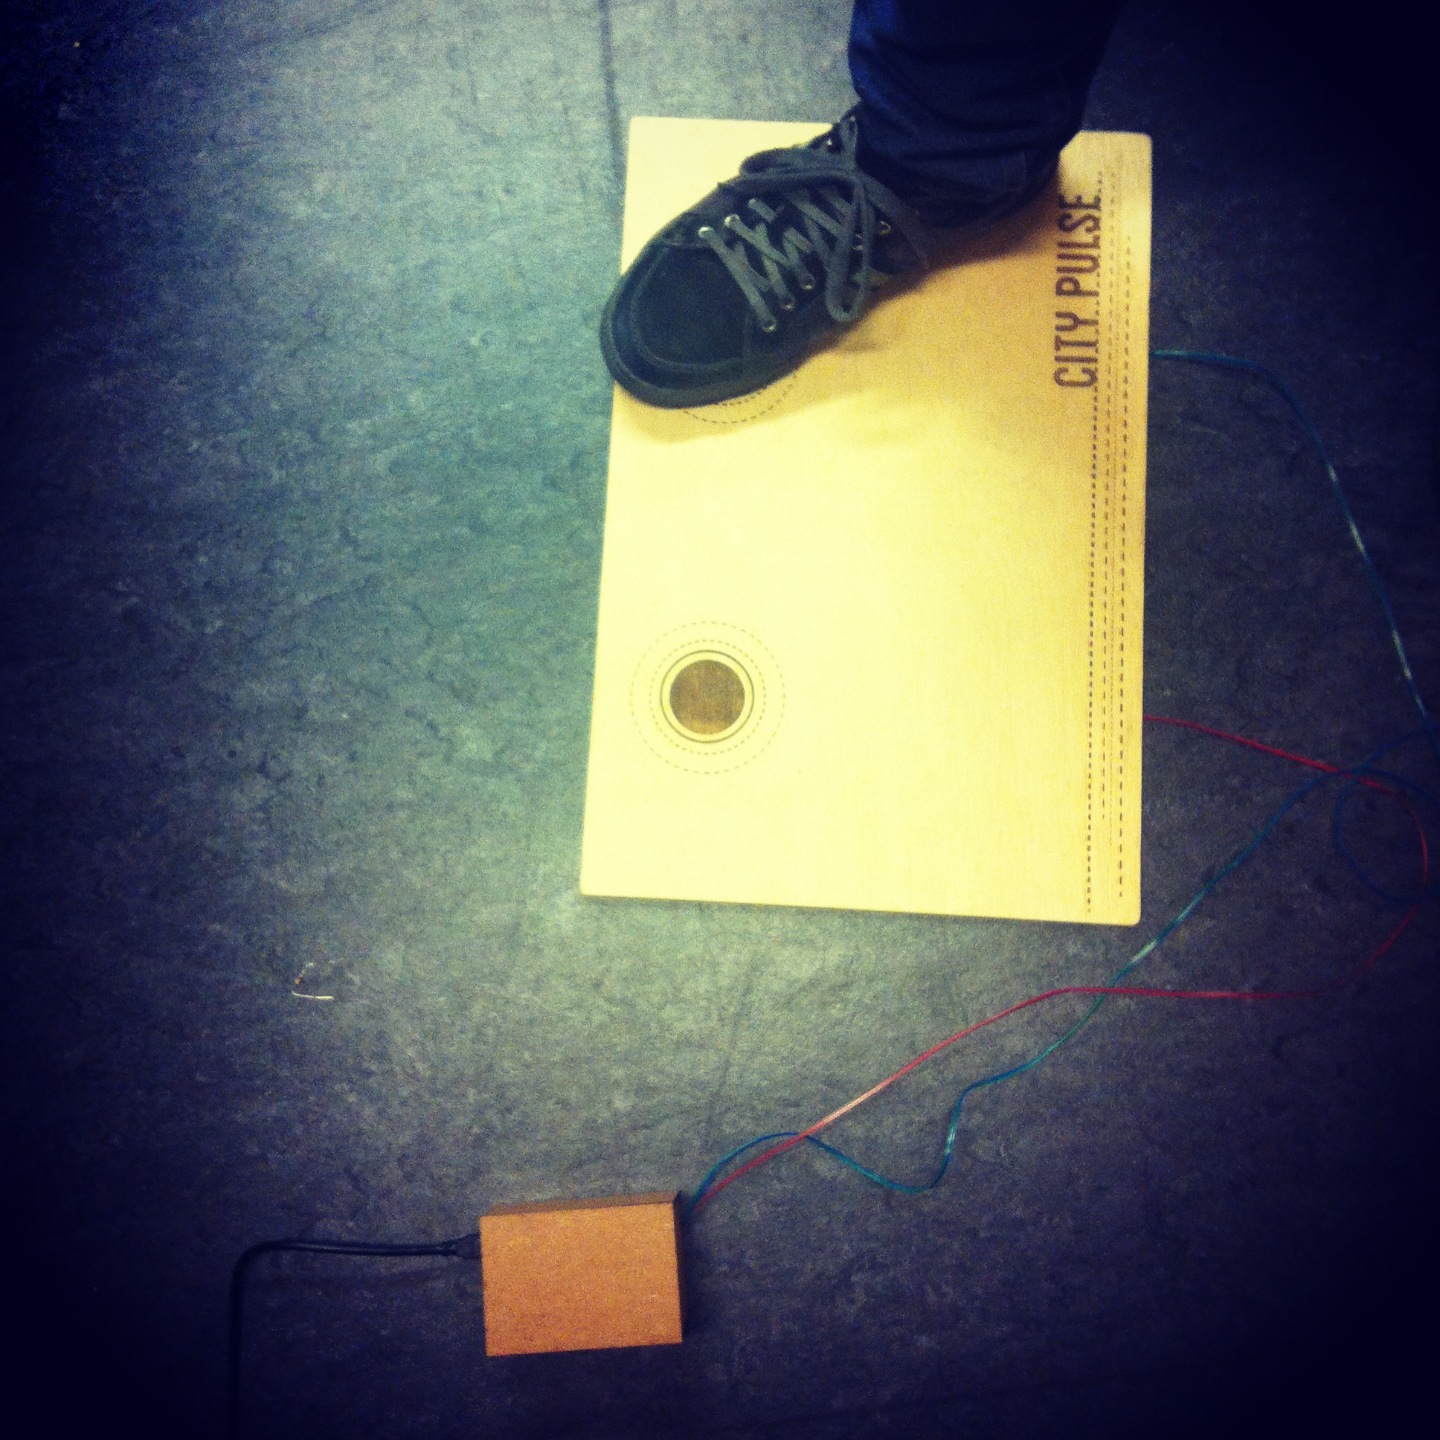
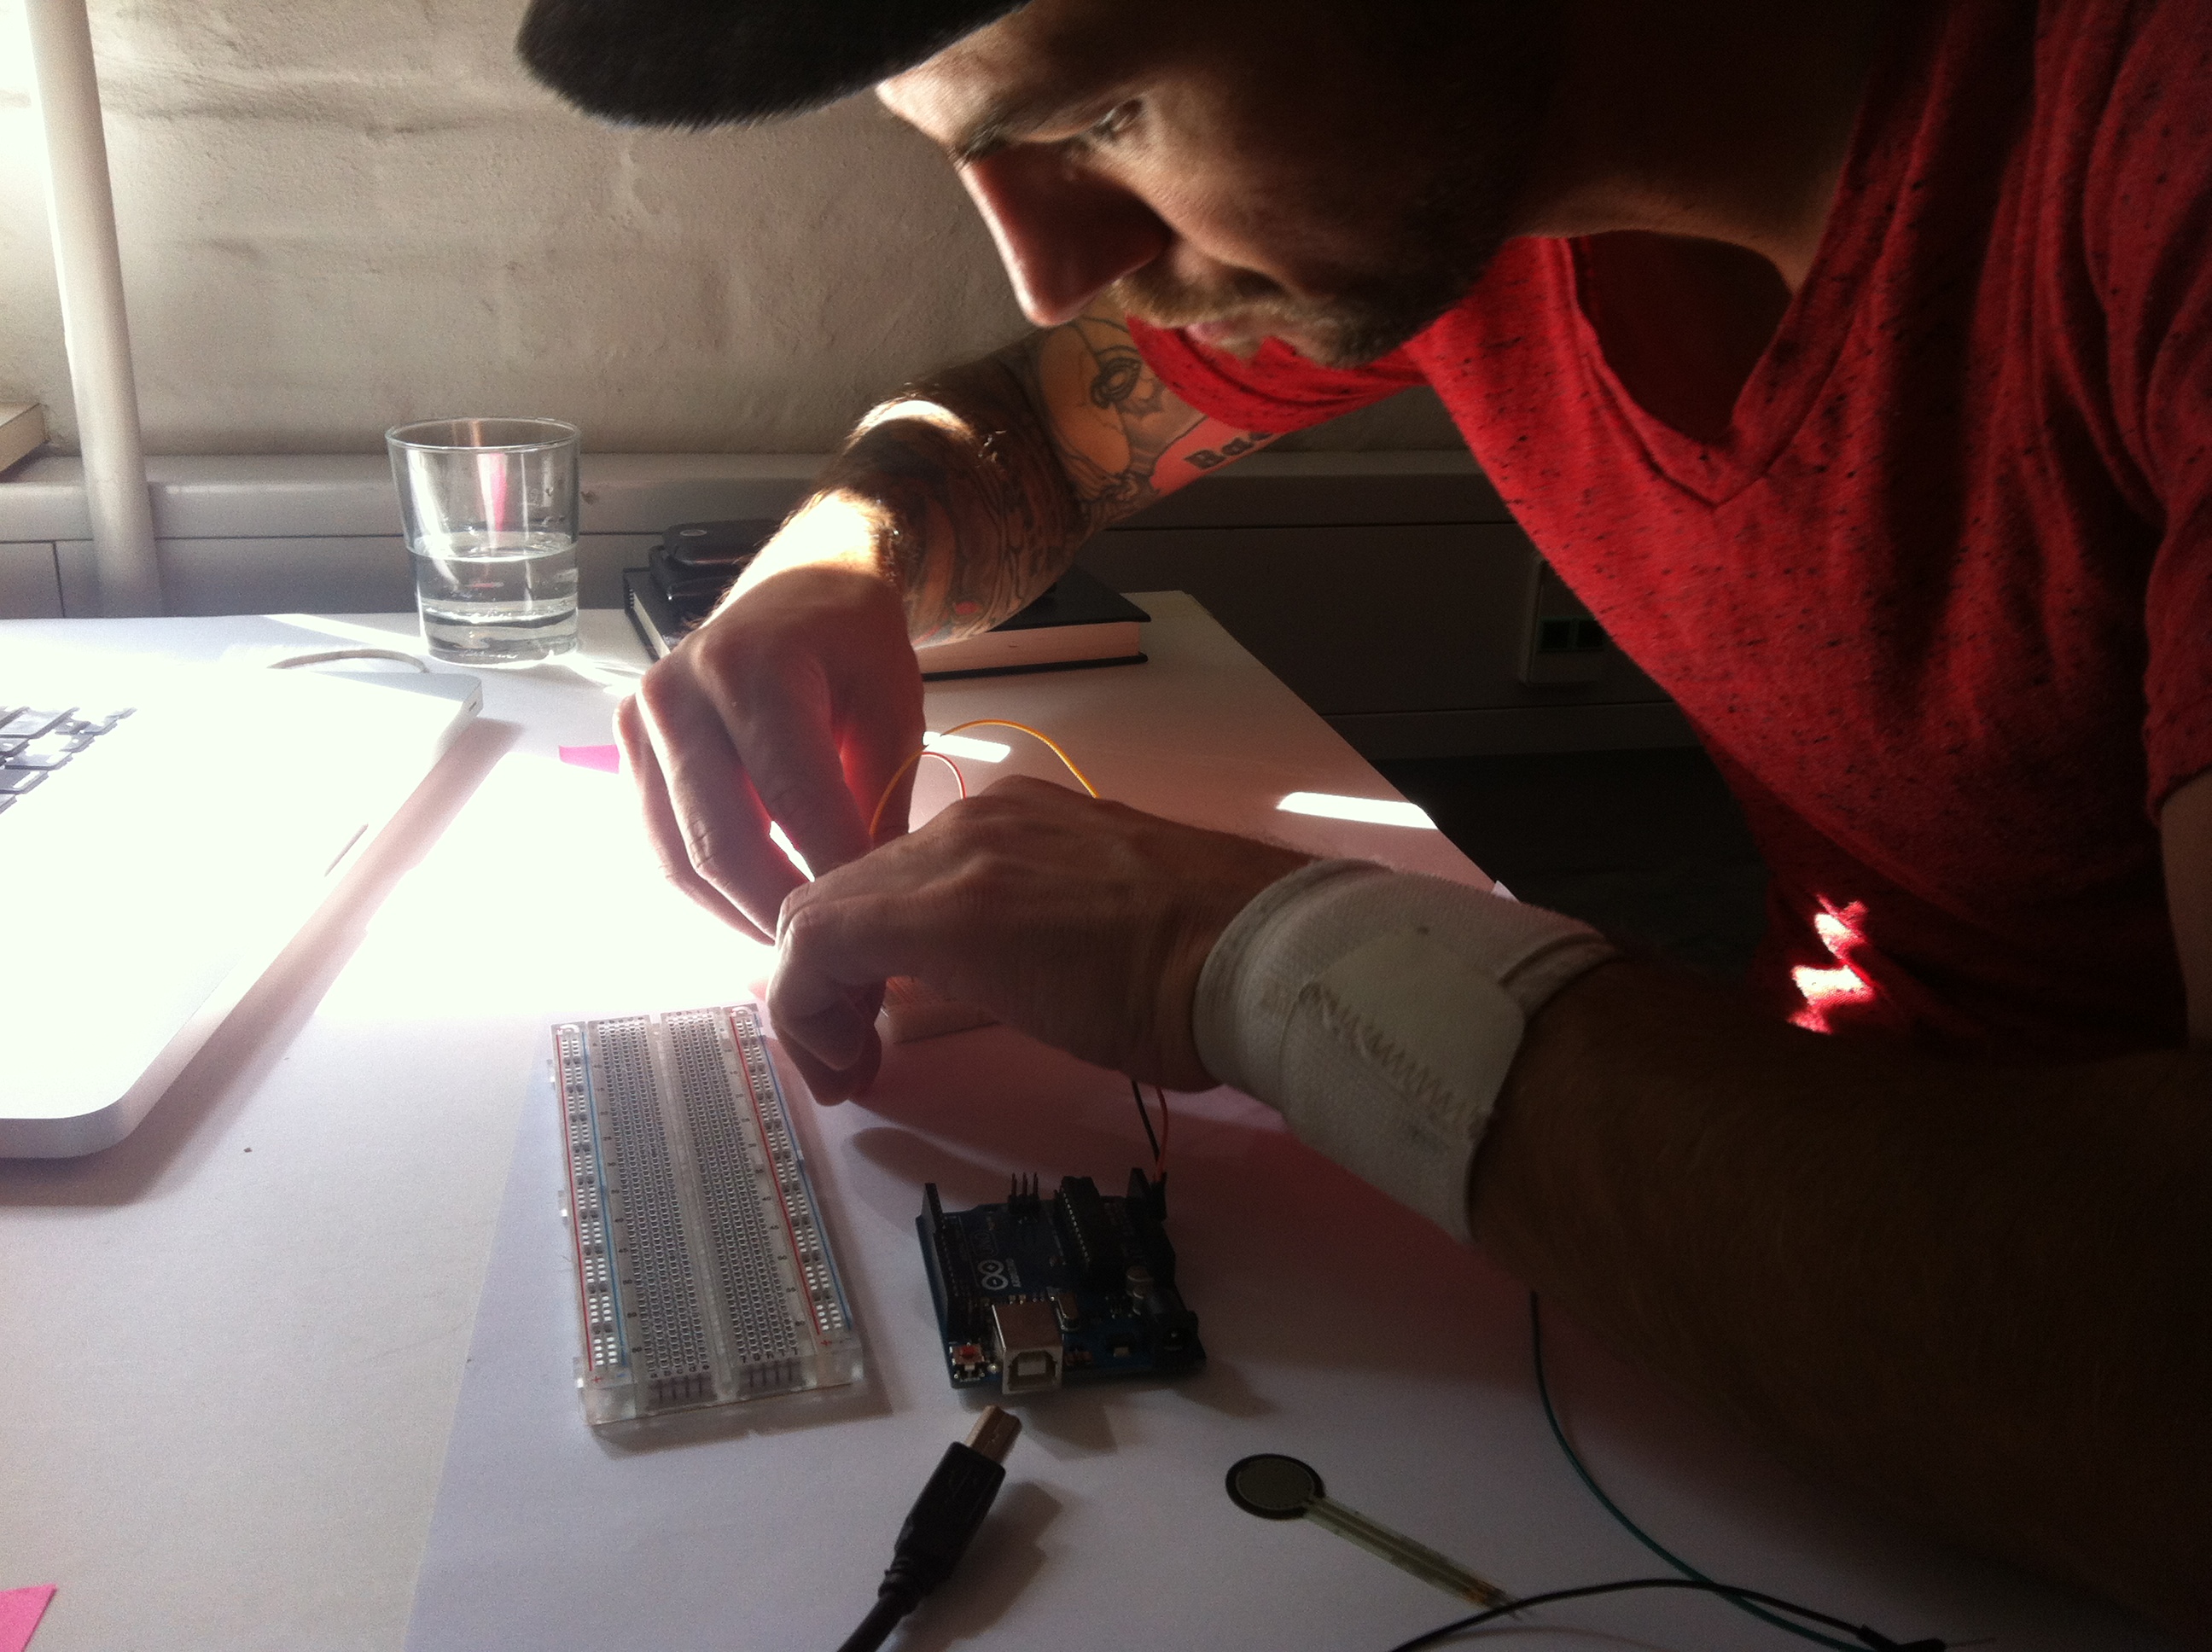
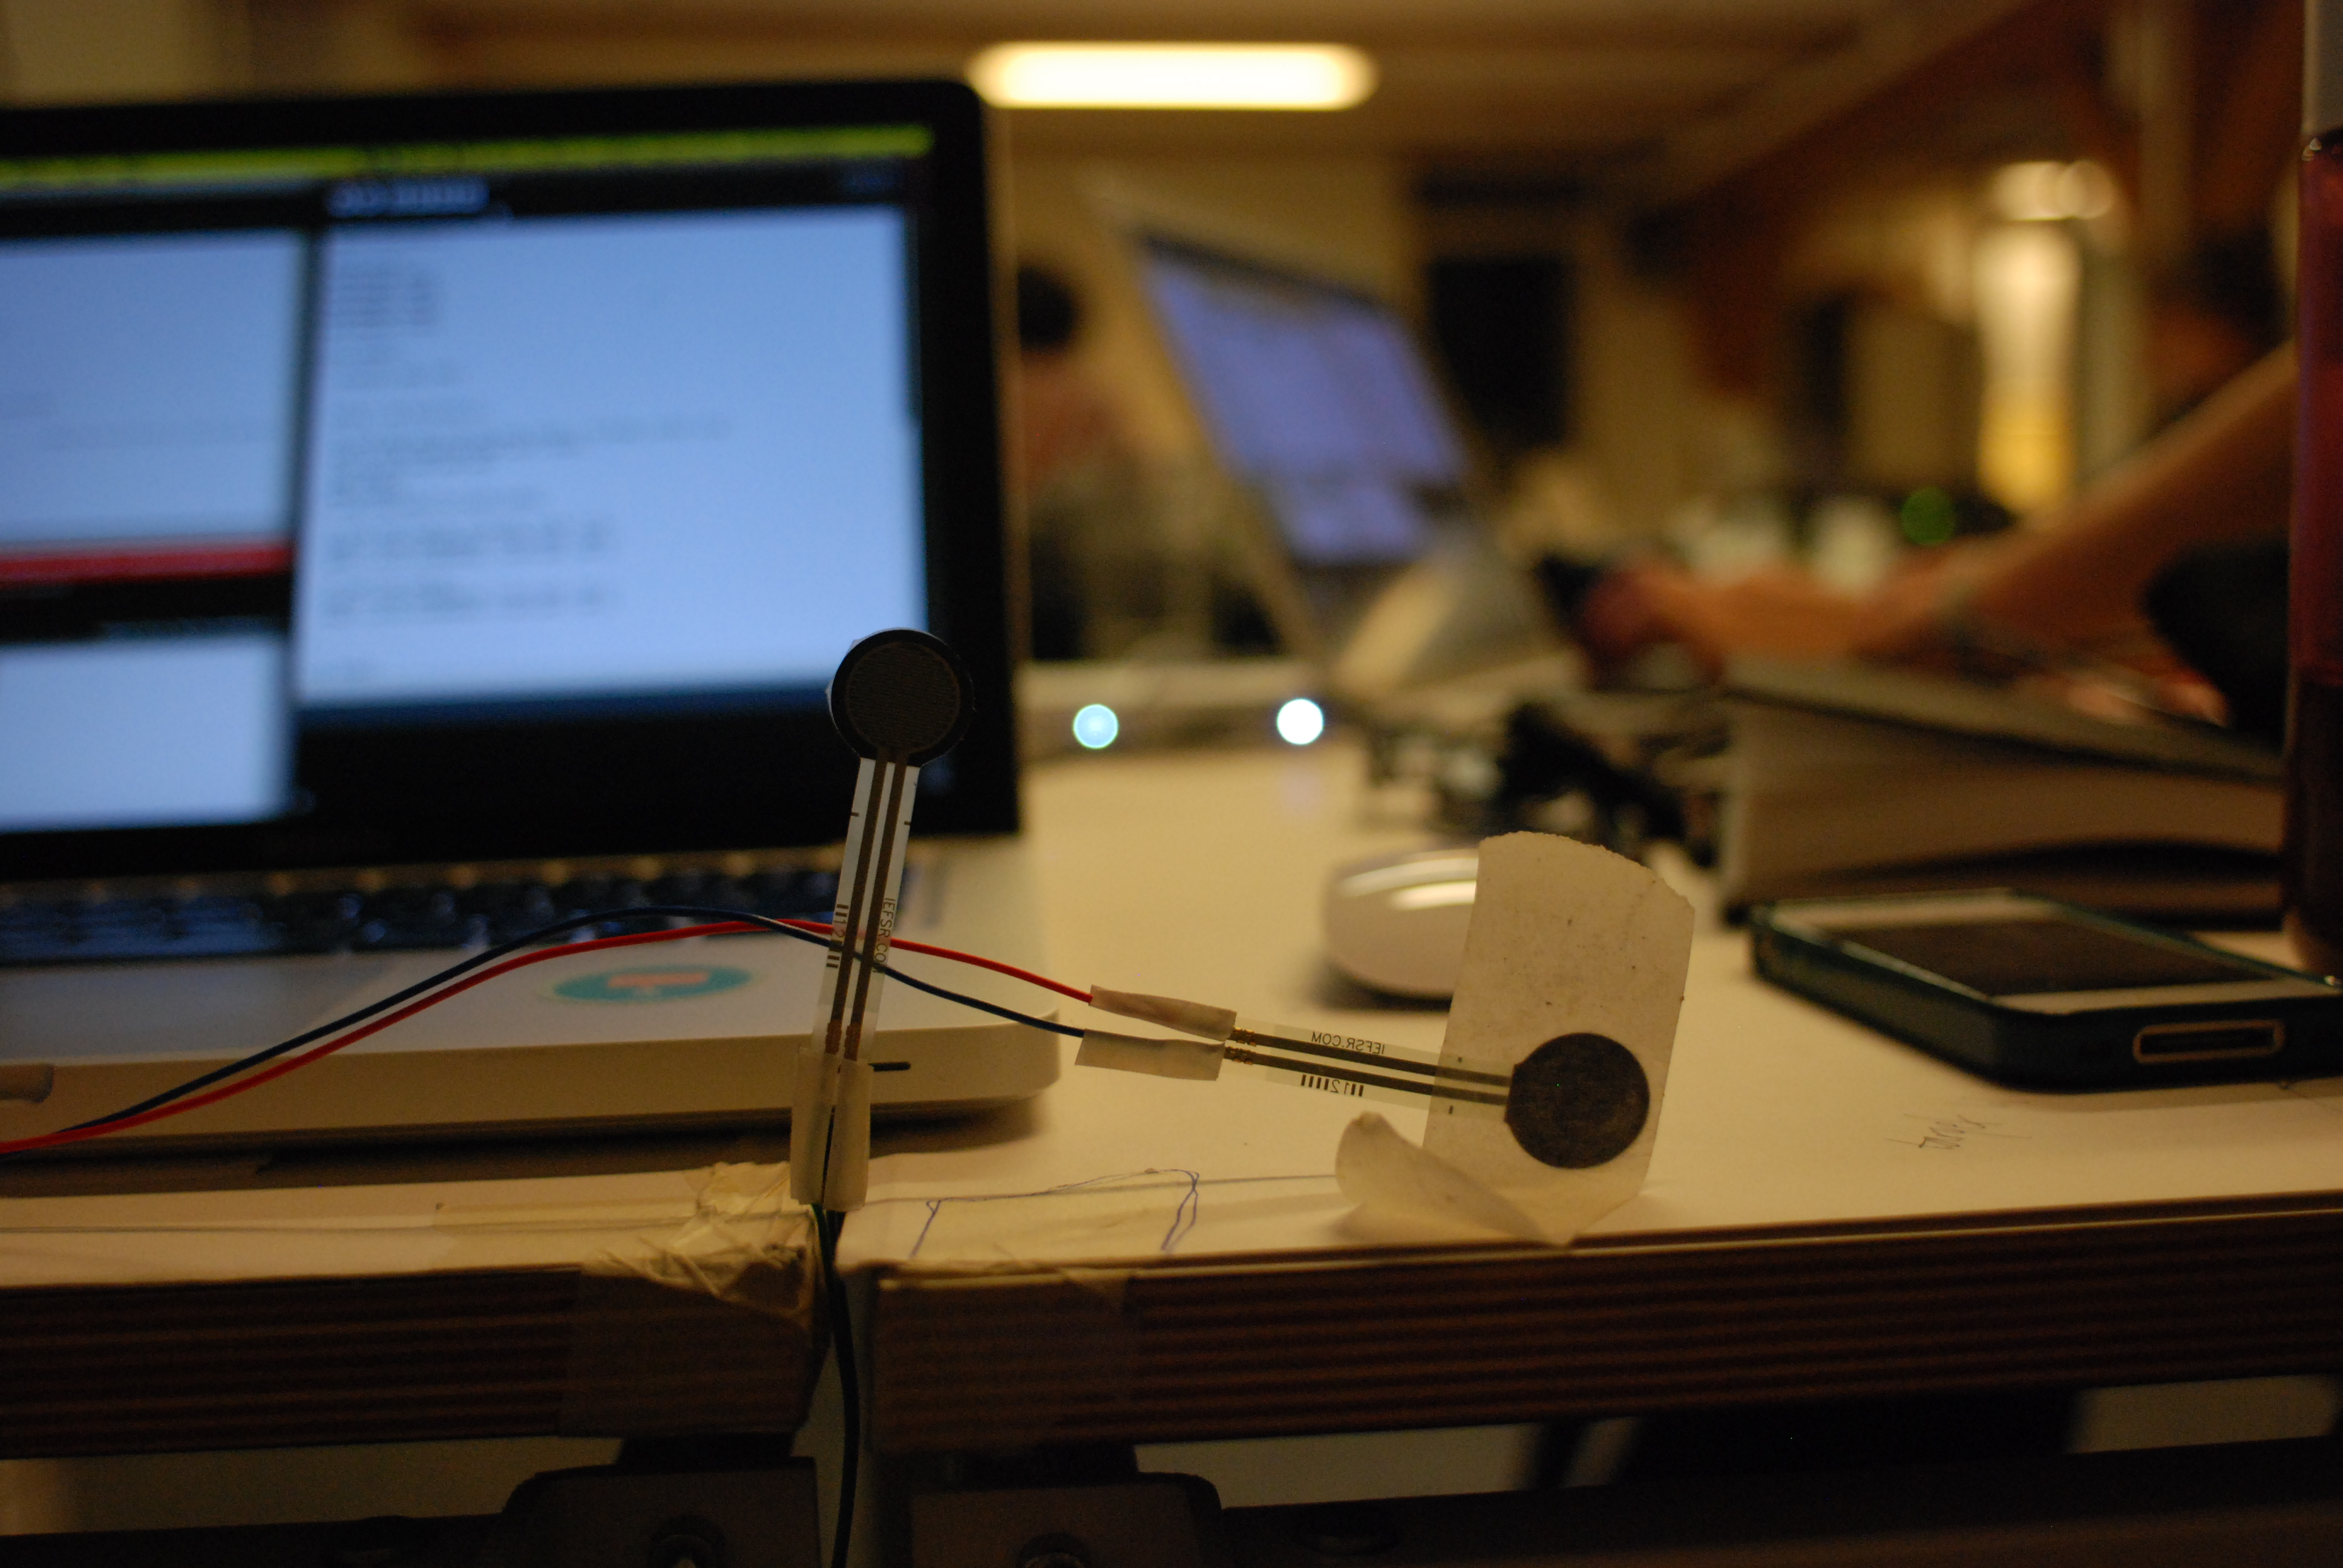
The next step was to start setting up the circuits for the interaction that we had envisioned. We used 2 force sensors and an arduino uno to receive analog input and send the data to processing. Our real challenge lay in getting a visually appealing output to respond to the data being sent through the sensors.
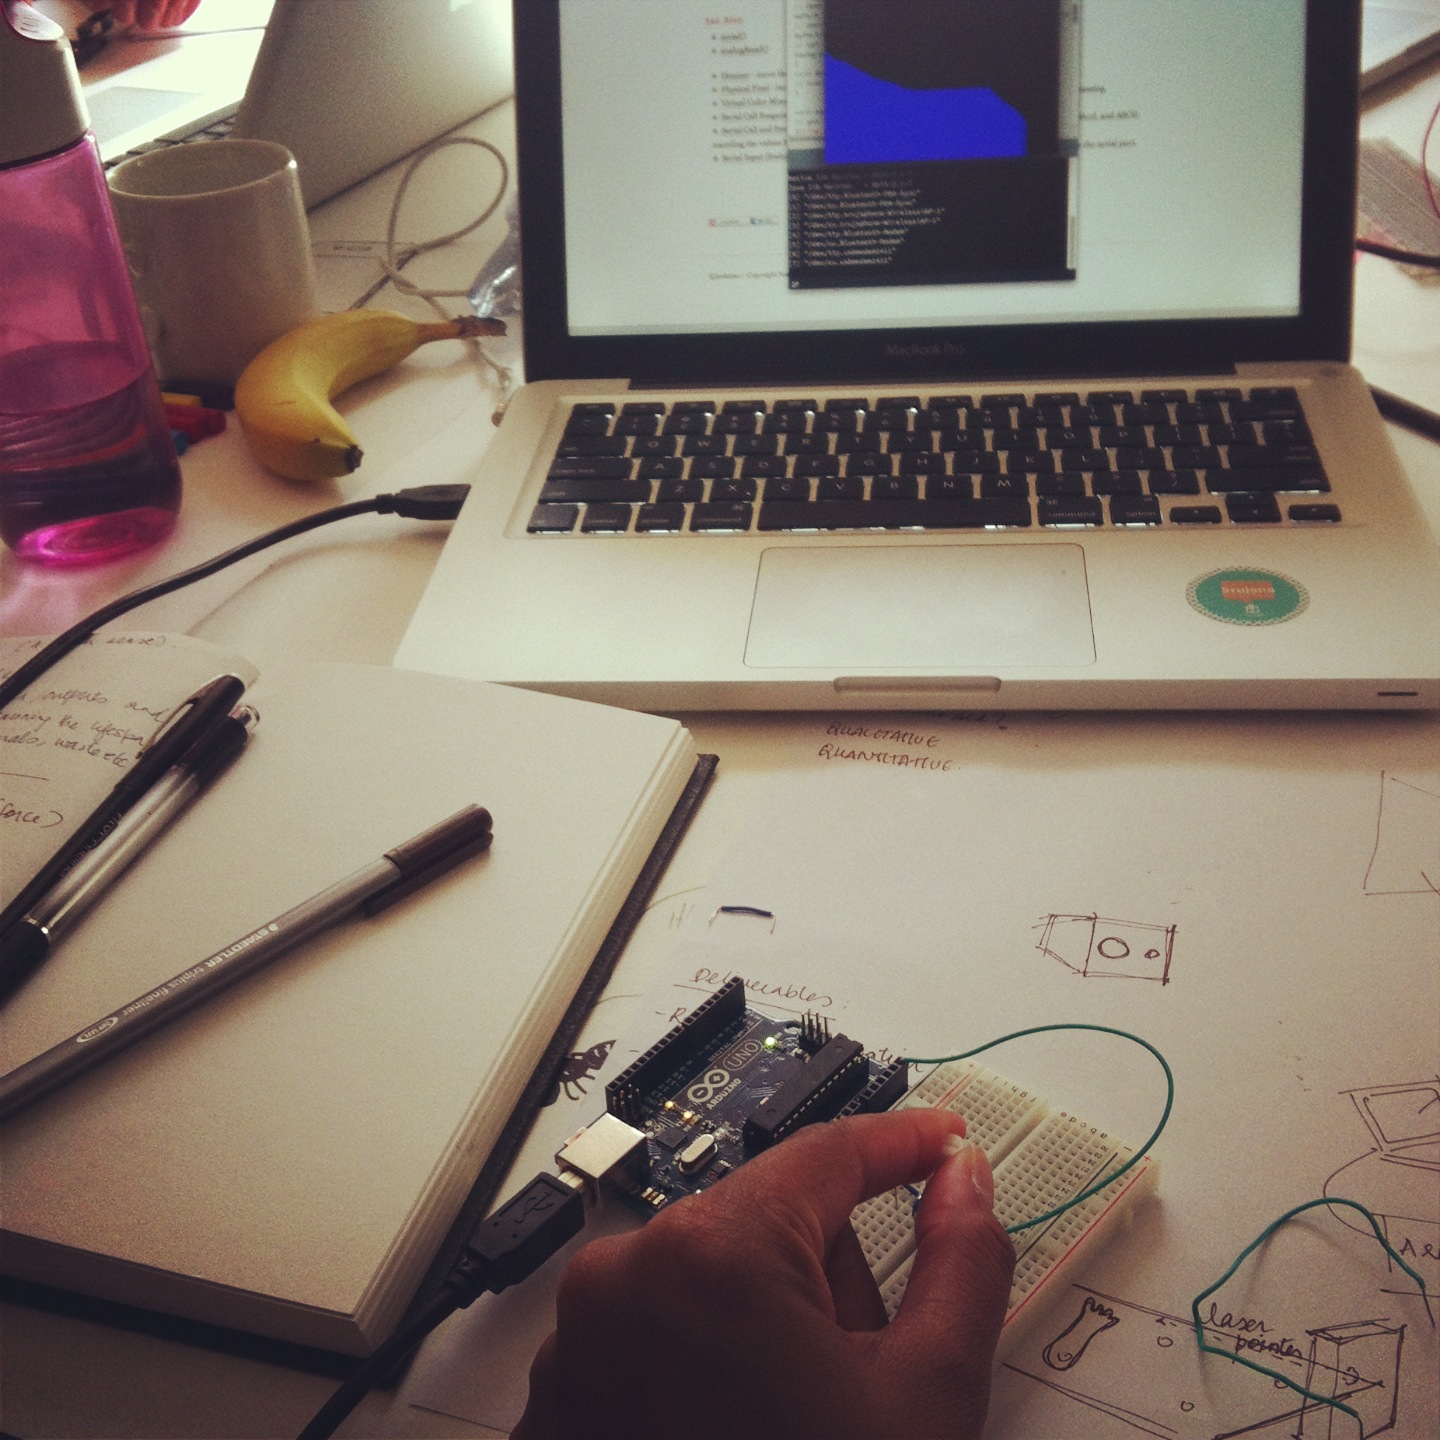
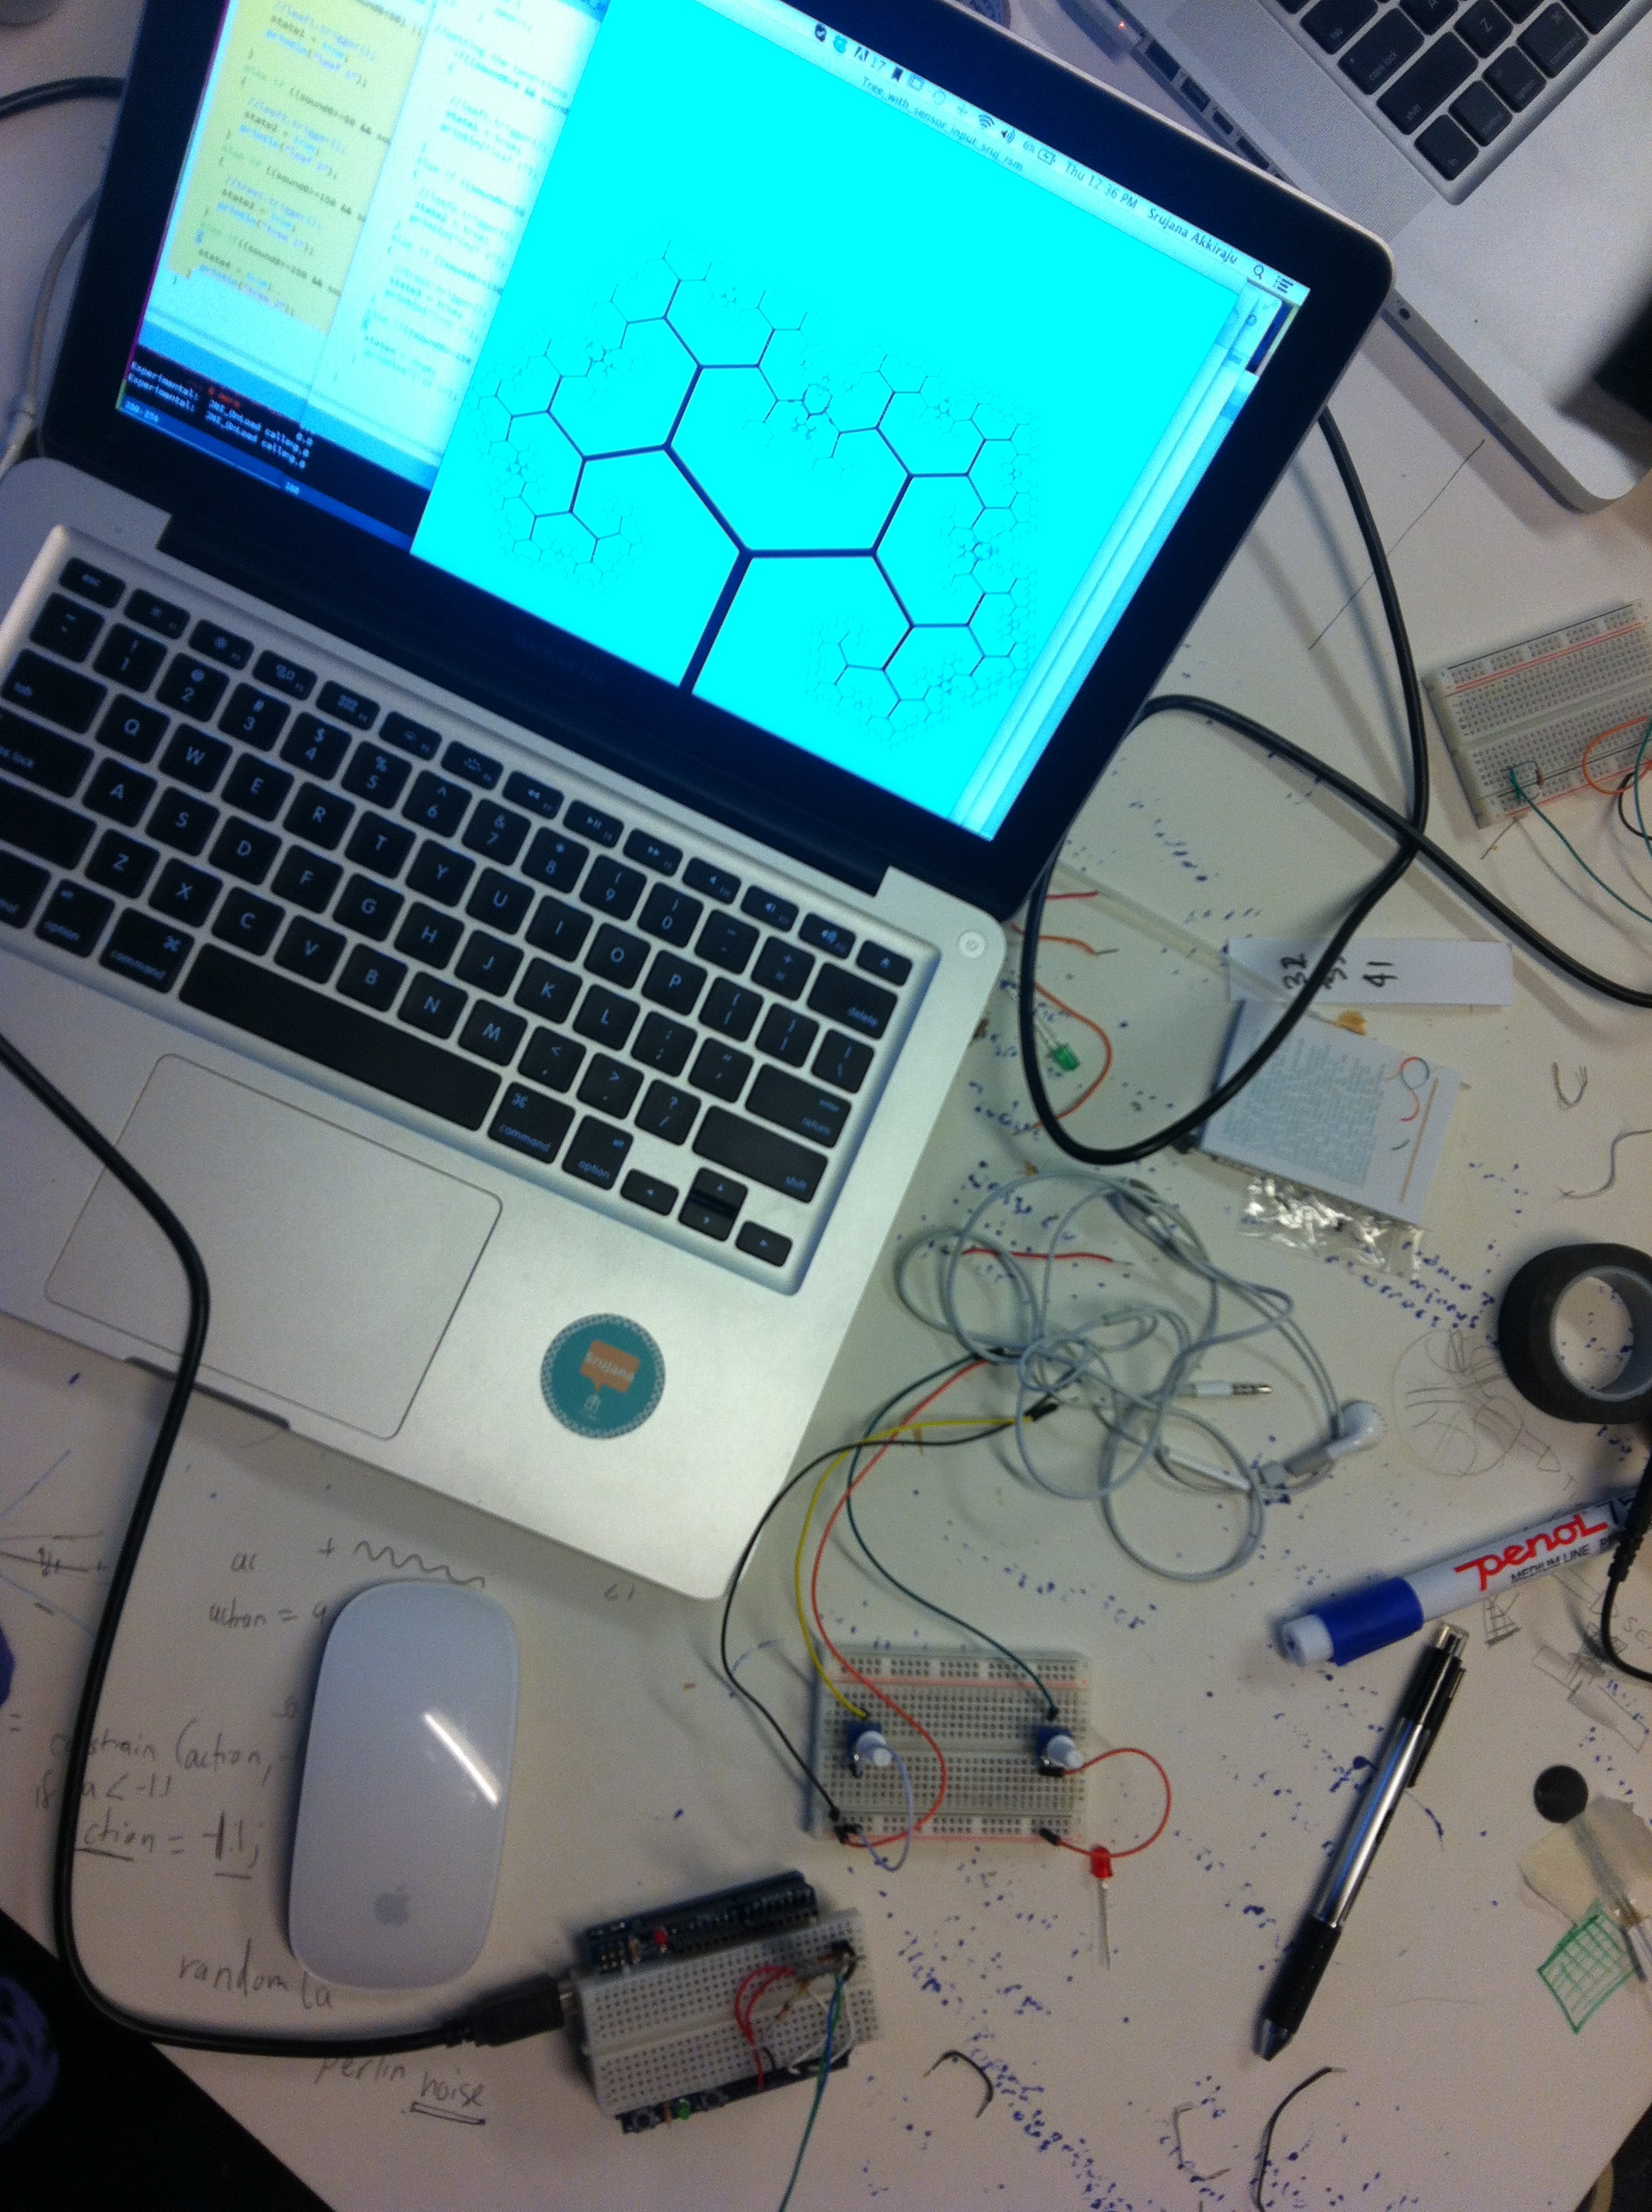
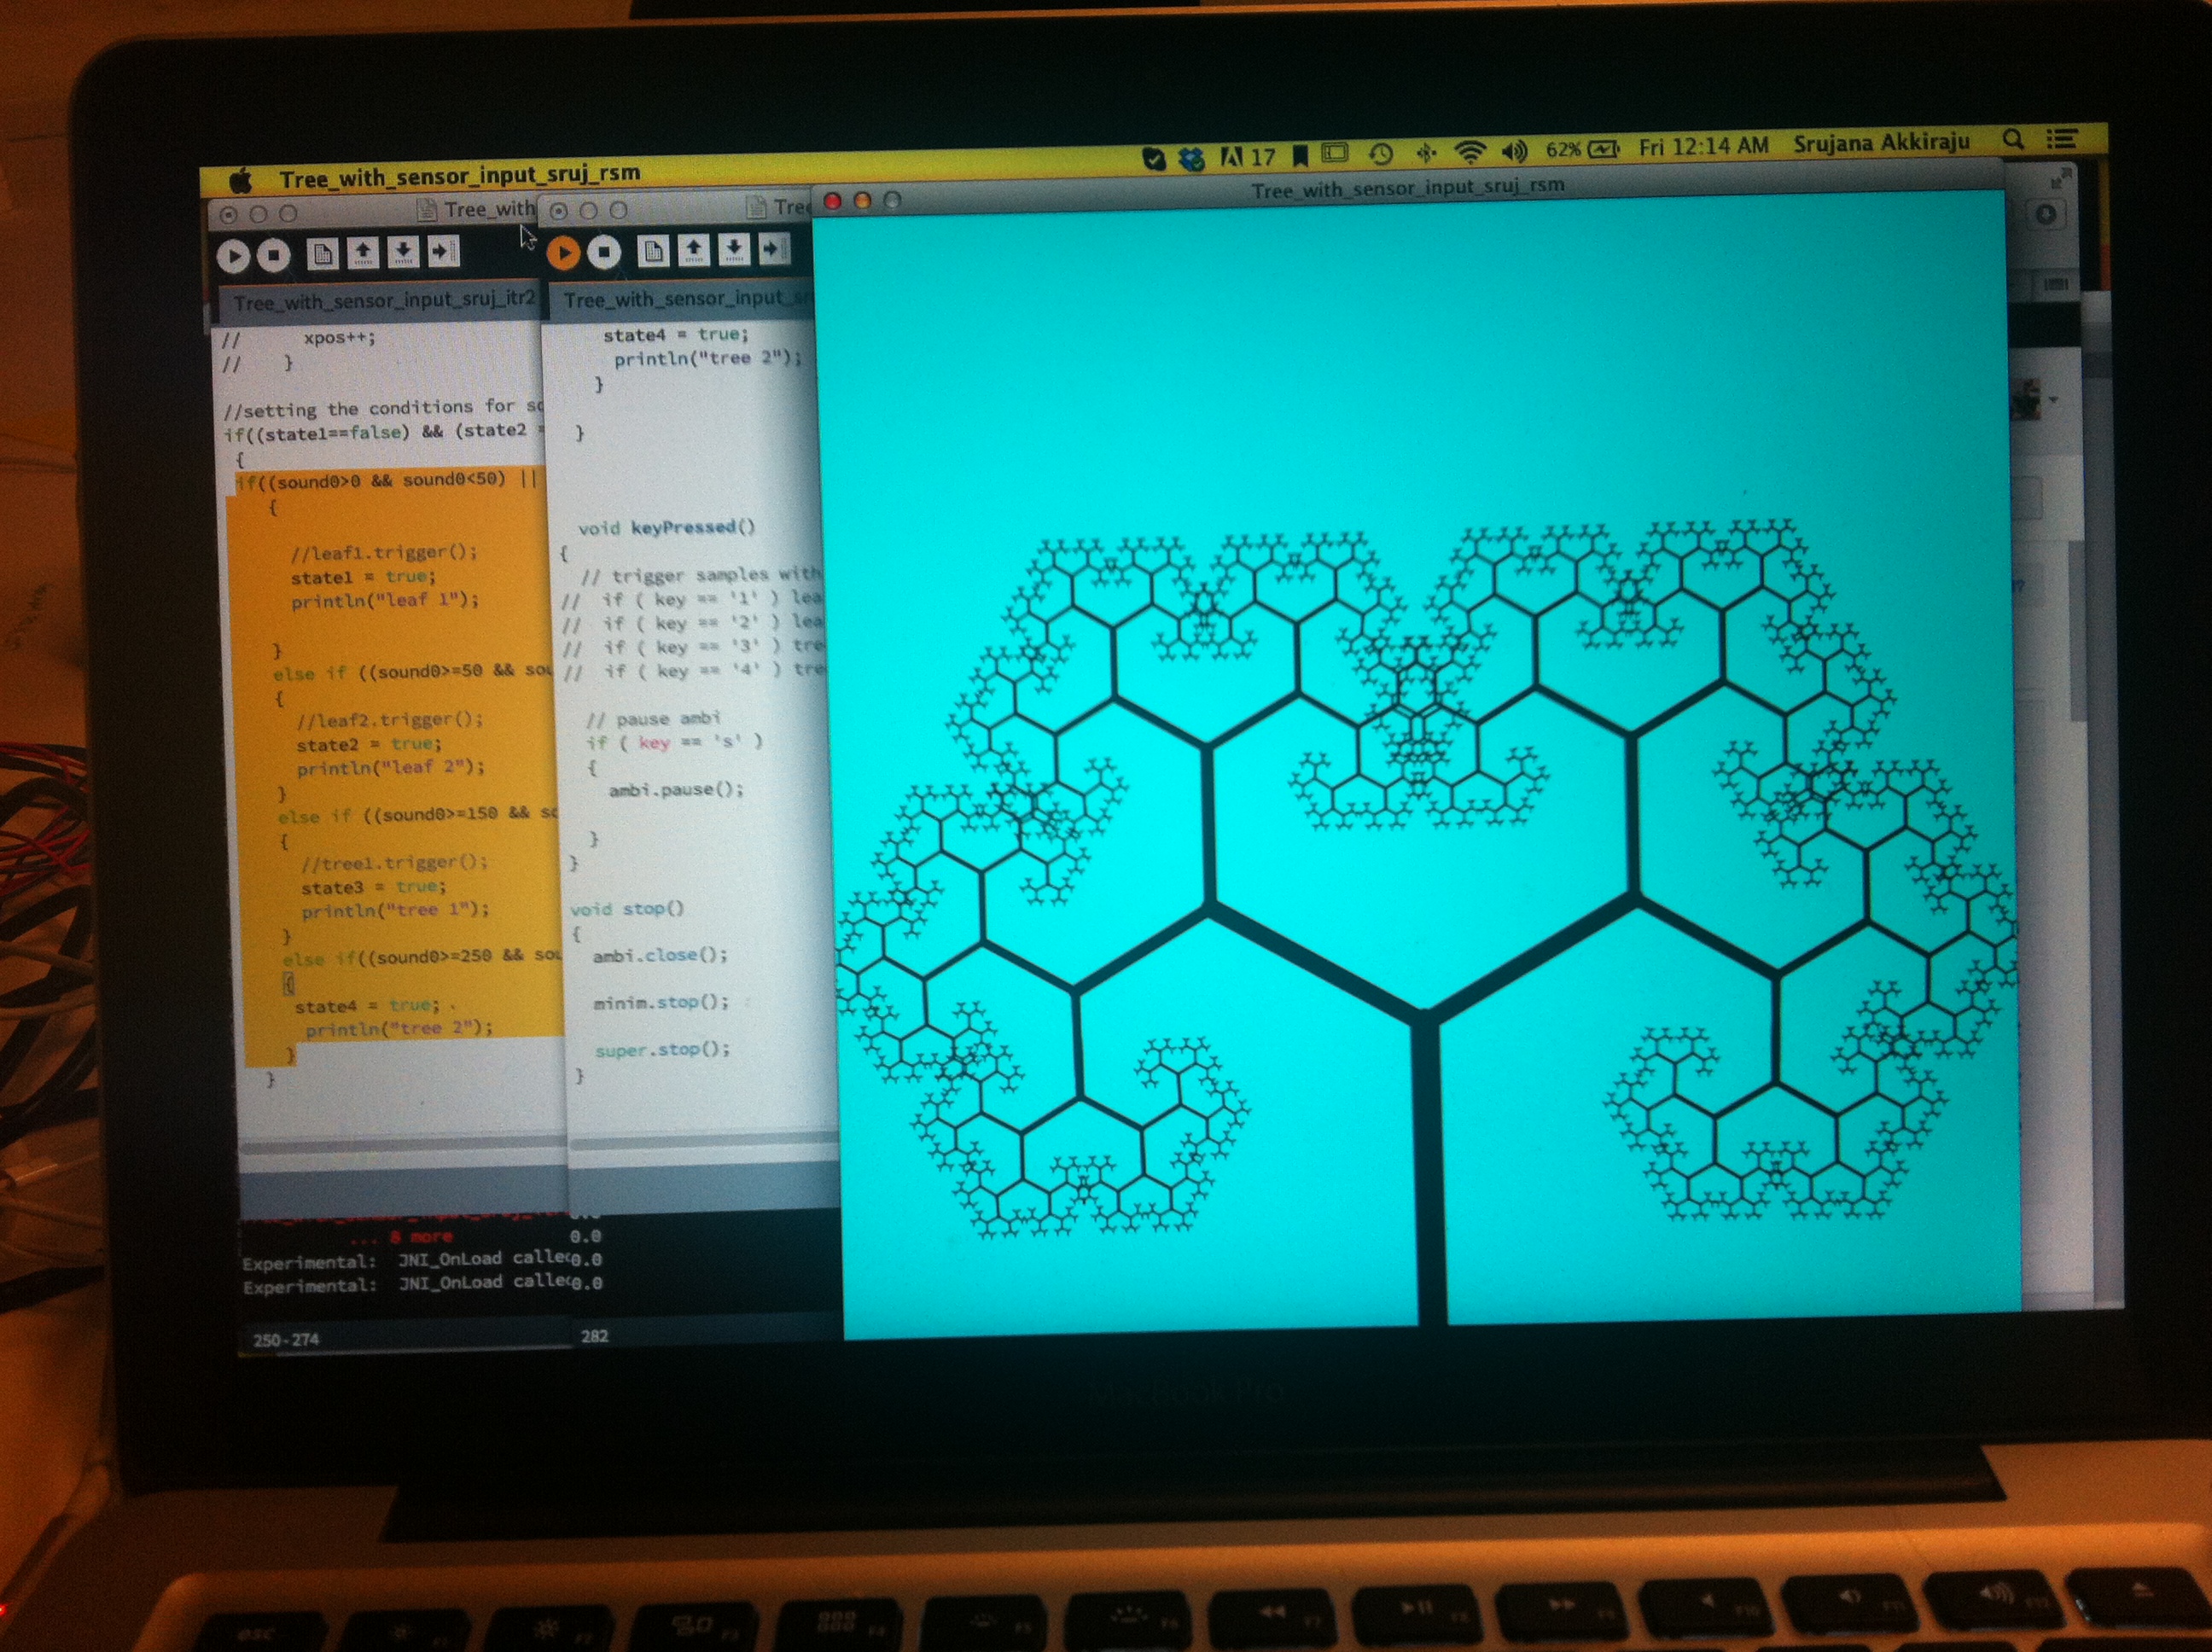
Thanks to some of the example codes in Processing, we were able to get a good starting point for our visual output. Although it sounds very easy, it was a very daunting task to actually be able to understand the existing code in order to be able to tweak it to fit with our intentional interaction. After almost 2 days of struggling with processing, we were able to make some progress. Take a look at the videos below to see some of our initial processing milestones….
Step 1: Getting visual output : IMG_6673
Step 2: Here comes the fractal magic! IMG_6702
Step 3: scale up for the full immersive experience : IMG_6705
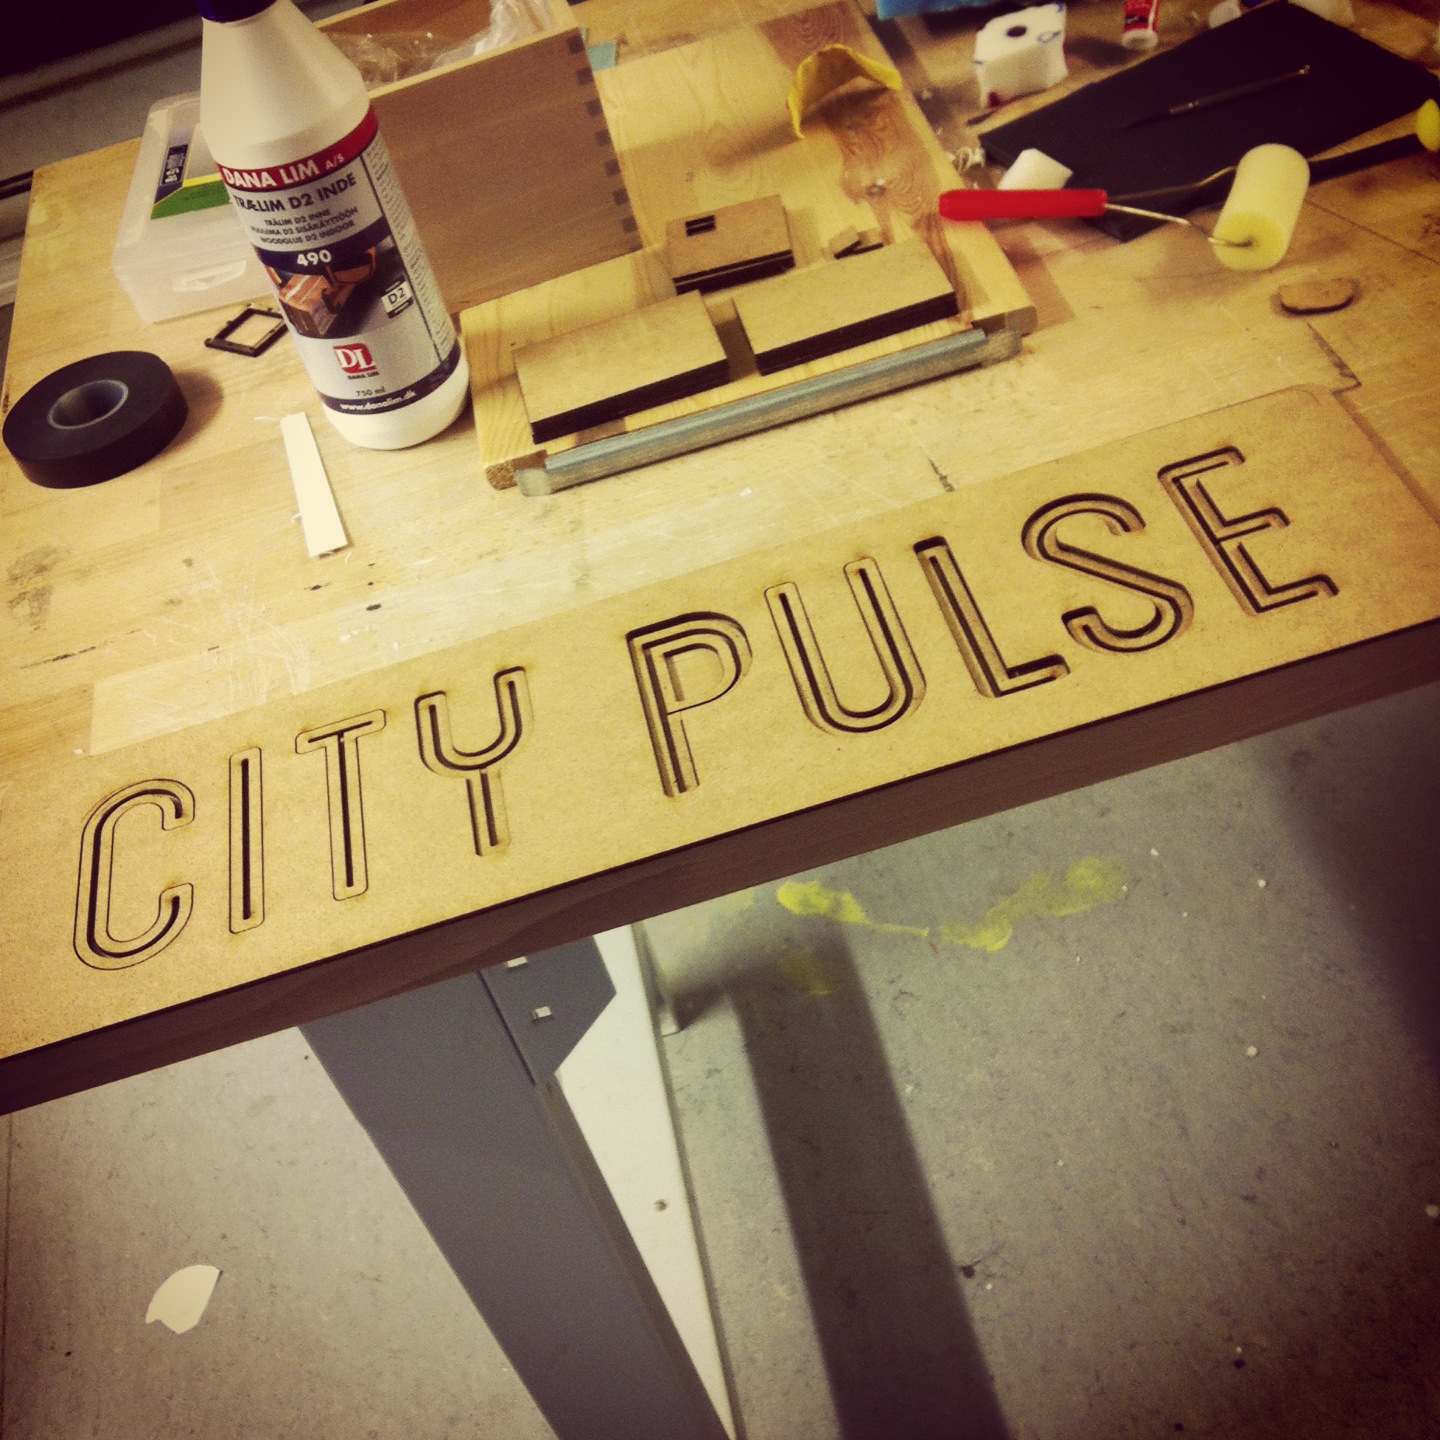
Building and installing the prototype seemed pretty easy once the code and the circuits were in place..